Remove the DC Power Supply Module
This section provides information about removing and replacing the DC power supply.
 Warning |
To reduce risk of electric shock or personal injury, disconnect DC power before removing or replacing components or performing upgrades. |
Follow these steps to remove and replace the DC power supply:
Procedure
|
Step 1 |
Before servicing the power supply, switch off the circuit breaker in your equipment area. As an additional precaution, tape the circuit-breaker switch in the Off position. |
|
Step 2 |
Slip on the ESD-preventive wrist strap that is included in the accessory kit. |
|
Step 3 |
Switch the power supply circuit-breaker switch to the Off (O) position. |
|
Step 4 |
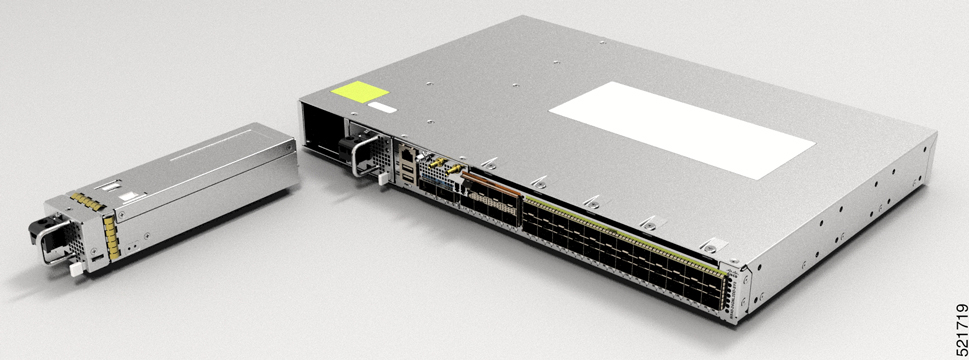
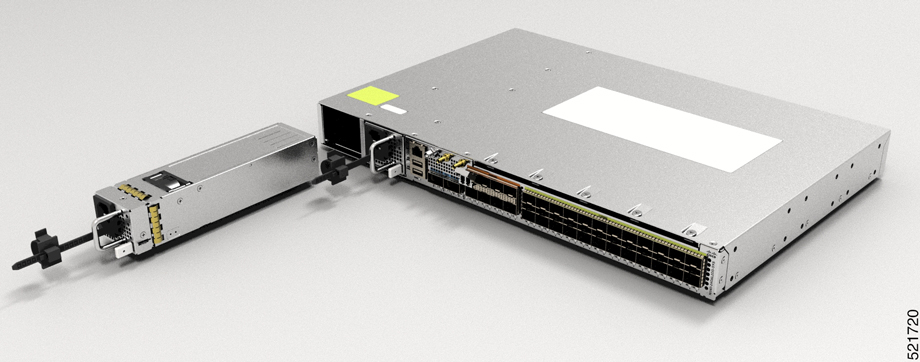
Pull the terminal block plug connector out of the terminal block head in the power supply. (See the following figure.) |
|
Step 5 |
Loosen the captive screws on the DC power supply. |
|
Step 6 |
Grasp the power supply handle. Press the power supply lock towards the left and simultaneously pull the power supply out from the chassis while supporting it with the other hand. |


 Feedback