Manage Users
Managing users is done using the User Management tab which is further divided into four tabs
-
Administrators—Lists information about administators defined on the Cisco Spaces dashboard with administrative access rights to the app.
-
App Users—Lists information about users defined within the Cisco Spaces: Asset Locator application
-
User Roles—Define role-based access control (RBAC), where users or groups of users are provided with various user roles.
-
Permissions—Define an access profile for each User Role. A profile is a collection of controls and restrictions which can be then assigned to a user role
Configuring User Permissions, User Roles, and Users
The Asset Locator users are provided with Role-based access control (RBAC), where users or groups of users are provided with various User Roles. Some of the User Roles are AdminAccess and ReadOnlyAccess.
User Roles are differentiated by the permissions associated, departments, categories and sites. You can establish permissions for individual components of Asset Locator, allowing you to delegate and share responsibilities across your organization.
For instance, your floor staff might have require access rights to viewing or searching for assets, and executing reports. However, your IT staff will require access rights to add and edit assets and create new reports
Permissions are in the form of profiles that are associated with User Roles. A profile is a collection of controls and restrictions which can be then assigned to a User Role. Permissions are created by selecting checkboxes for various Asset Locator features like Configure Assets, and assigning permissions like view or edit to these features.
Before you begin
-
Ensure that categories and departments are configured.
-
Ensure that maps are uploaded.
Procedure
|
Step 1 |
(Optional) In the left navigation pane, click User Management>Permissions.
|
||||||
|
Step 2 |
In the left navigation pane, click User Management>User Roles and click Add. |
||||||
|
Step 3 |
In the Role dialog box, do the following:
|
||||||
|
Step 4 |
Invite users by entering their email IDs and selecting Role as configured in Step 2. |
Modifying Users and User Roles
You, as an administrator, cannot modify the personal details of a user. The users also cannot modify their personal details from the User Management tab.
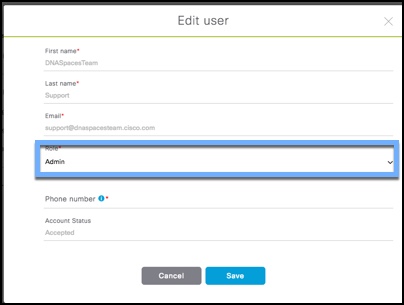
Users listed under User Management > Administrators are administrators defined in the Cisco Spaces dashboard. This type of user cannot be edited from Asset Locator, and can be edited from the Cisco Spaces dashboard only.
Procedure
|
Step 1 |
To modify user details, users must log in to their respective accounts on the Asset Locator dashboard and click the profile button in the top right corner, and from the drop-down menu, click User Settings. Look for Contact Information and click the pencil icon beside it. 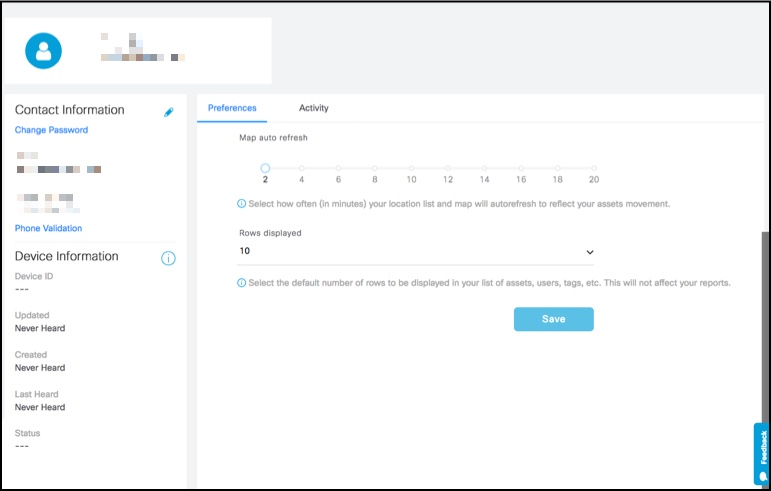
|
|
Step 2 |
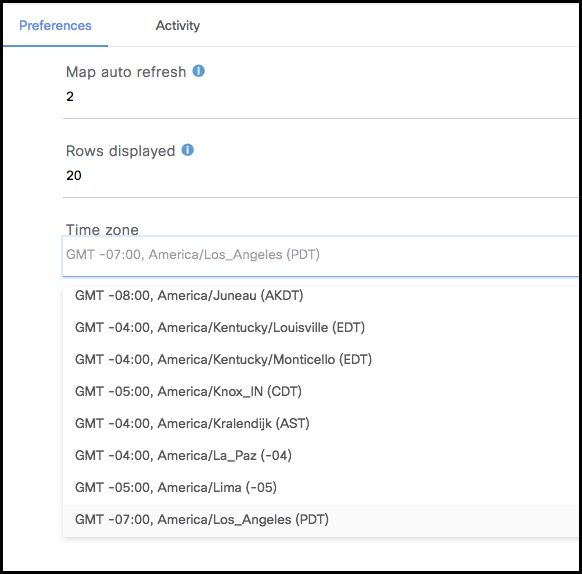
From the Preferences tab of this page, you can set the following:
|
|
Step 3 |
From the Activity tab, you can observe dasboard access activity like browsers used, access time, and location. 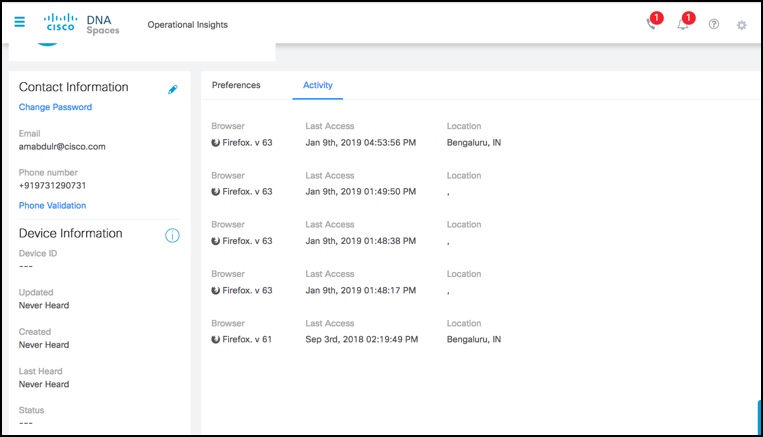 |
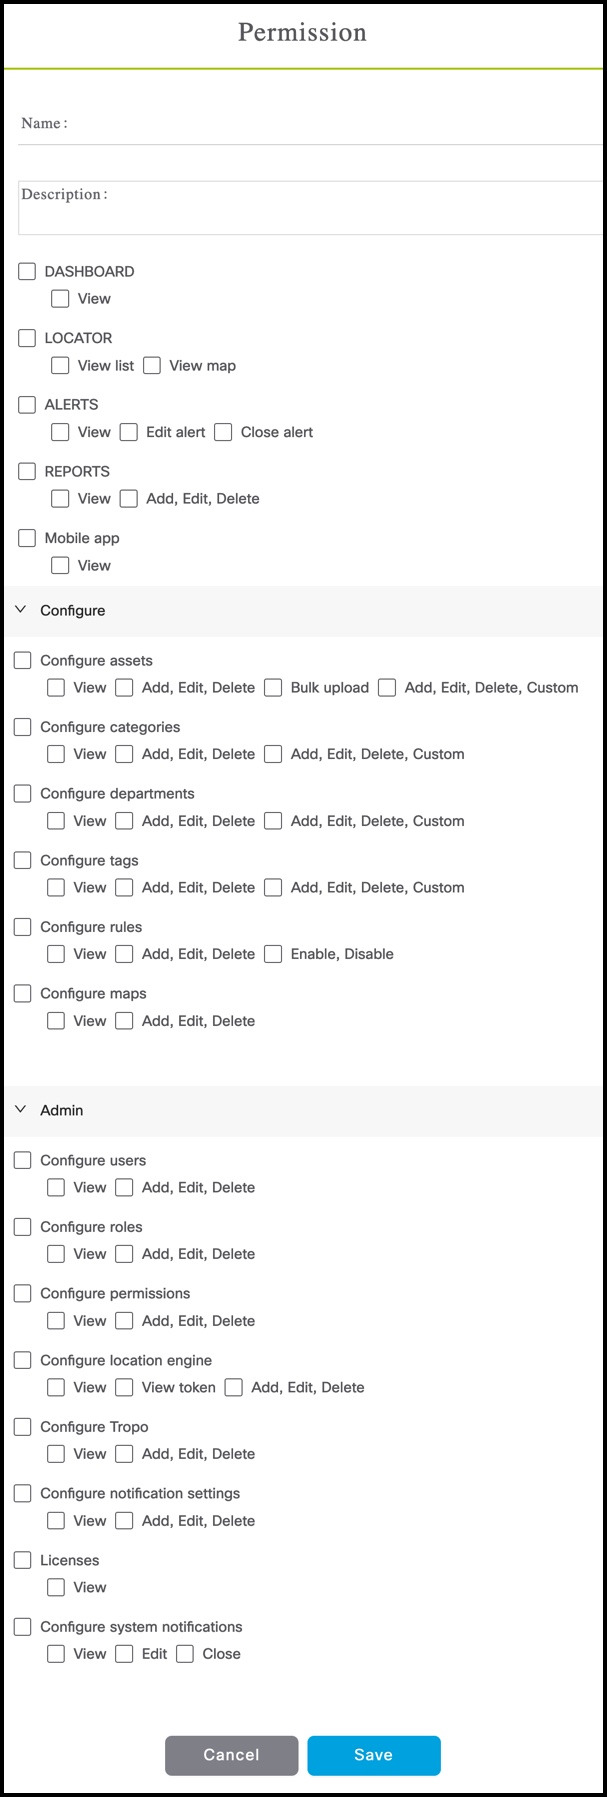
 Feedback