Upgrade Firmware on Wireless Access Point
Available Languages
Objective
New firmware releases are improvements from previous firmware versions. Network device performance can be enhanced when an upgrade is made. Firmware files can be downloaded through:
- Trivial File Transfer Protocol (TFTP) - is a User Datagram Protocol (UDP) file transfer protocol typically used to distribute software upgrades and configuration files. When using the TFTP client, the file will be downloaded from a TFTP server.
- Hypertext Transfer Protocol/with Secure Sockets (HTTP/HTTPS) - these protocols use your web browser to transfer the file.
This document explains how to upgrade the firmware on a Wireless Access Point (WAP) through an HTTP/HTTPS client or TFTP server.
Tip: When you are upgrading the firmware, it is recommended to use wired Internet connection on your computer to avoid interruption during the upgrade process.
Applicable Devices | Firmware Version
- WAP121 | 1.0.6.5 (Download latest)
- WAP131 | 1.0.2.8 (Download latest)
- WAP150 | 1.0.1.7 (Download latest)
- WAP321 | 1.0.6.5 (Download latest)
- WAP351 | 1.0.2.8 (Download latest)
- WAP361 | 1.0.1.7 (Download latest)
- WAP371 | 1.3.0.3 (Download latest)
- WAP551 | 1.2.1.3 (Download latest)
- WAP561 | 1.2.1.3 (Download latest)
Upgrade Firmware
Before starting the upgrade process, make sure you have downloaded the latest firmware of your device from the Cisco website using the appropriate link above.
Firmware Upgrade through HTTP/HTTPS
Note: Images used are from the WAP131 as an example.
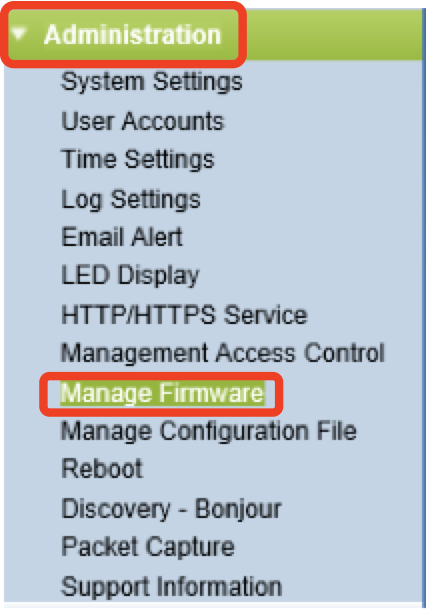
Step 1. Login to the access point Graphical User Interface (GUI) and choose Administration > Manage Firmware.

Step 2. Under the Manage Firmware area, choose the HTTP/HTTPS radio button as the Transfer Method.
Note: The Product ID (PID VID) and active and inactive firmware versions appear. When the firmware is upgraded, the previous version is saved as Inactive Firmware Version. These firmware versions are stored on the device so the active firmware can be swapped at any time.

Step 3. Click Choose File and locate the firmware image file you have previously downloaded.
Note: The firmware upgrade file supplied must be a .tar file. Do not attempt to use .bin or other file formats for the upgrade as these types of files do not work. The file name cannot contain the following characters: spaces, and special characters.

Step 4. Click Upgrade.
Note: Uploading the new firmware may take several minutes. Do not refresh the page or navigate to another page while uploading the new firmware, otherwise, the firmware upload is aborted. Once the process is complete, the WAP restarts and resumes normal operation. In certain cases, you will need to manually refresh the page after the upgrade is completed. If the login page does not appear after six minutes, refresh your web browser.

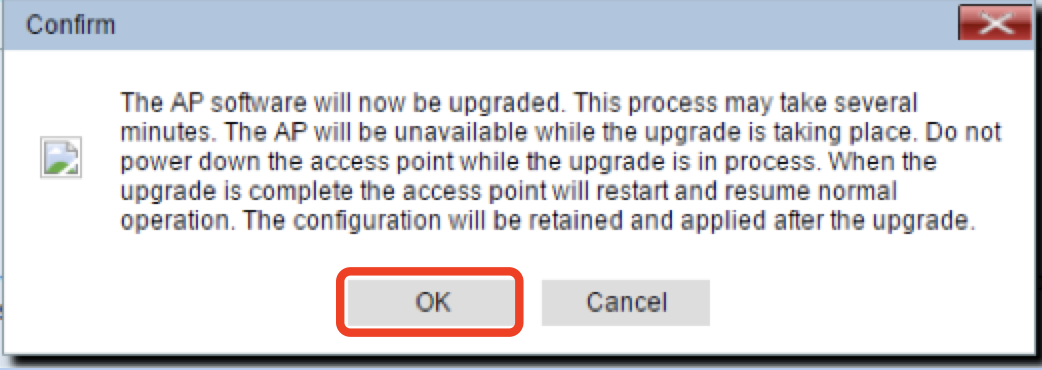
Step 5. Click OK to continue.

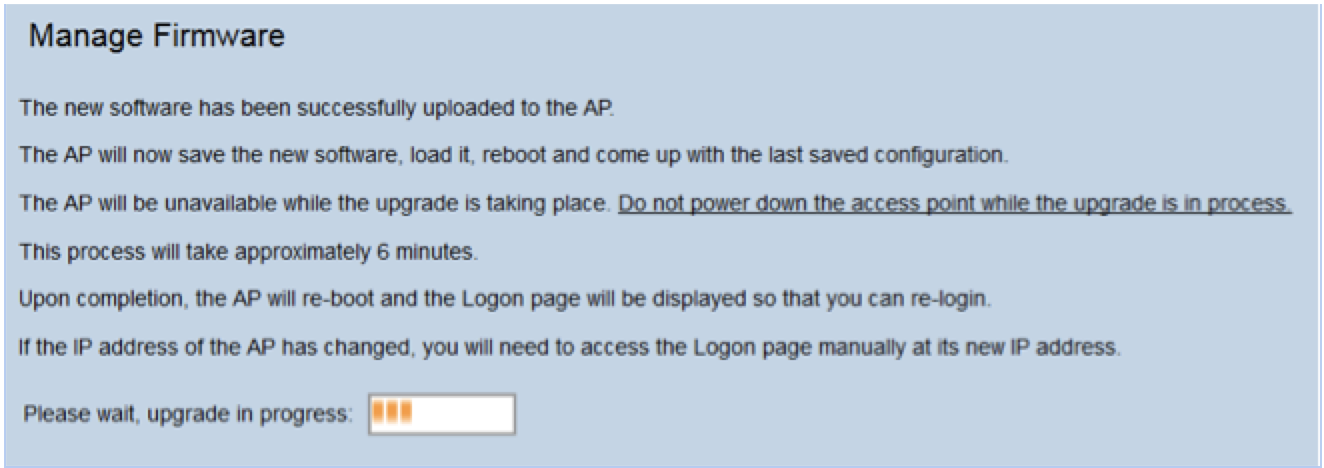
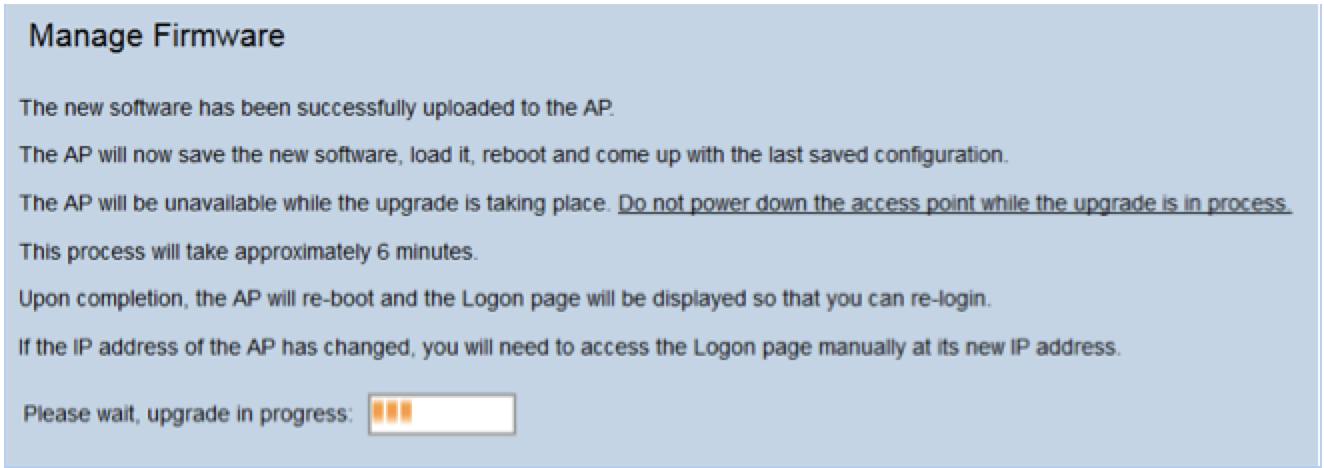
Step 6. The progress of the upgrade process will then appear.

Step 7. To verify if the firmware upgrade was successful, log in to the web-based utility and choose Administration > Manage Firmware. Under the Manage Firmware area, you will see the active image in the Active Firmware Version.

You have now successfully upgraded your firmware through HTTP/HTTPS.
Firmware Upgrade through TFTP
Step 1. Login to the access point web-based utility and choose Administration > Manage Firmware.

Step 2. Click the TFTP radio button as the Transfer Method.

Step 3. Enter the source file name in the Source File Name field. The character limit is 1 to 256, including the path to directory that contains the image.
Note: The firmware upgrade file supplied must be a .tar file. Do not attempt to use .bin files or files of other formats for the upgrade; these types of files do not work. The filename cannot contain the following characters: spaces, and special characters.

Step 4. Enter the TFTP Server IPv4 Address in the TFTP Server IPv4 Address field.
Note: The IP address of 192.168.1.2 is used as an example below.

Step 5. Click Upgrade.

Note: Uploading the new firmware may take several minutes. Do not refresh the page or navigate to another page while uploading the new firmware, otherwise, the firmware upload is aborted. Once the process is complete, the WAP restarts and resumes normal operation. In certain cases, you will need to manually refresh the page after the upgrade is completed. If the login page does not appear after six minutes, refresh your web browser.
Step 6. Click OK to continue.

Step 7. The progress of the upgrade process will then appear.

Step 8. To verify if the firmware upgrade was successful, log in to the web-based utility and choose Administration > Manage Firmware. Under the Manage Firmware area, you will see the active image in the Active Firmware Version.

You have now successfully upgraded your firmware through a TFTP server.
For more information on updating firmware on a WAP, check out the following aritcles: