Configure Service Management for Access Rules on RV160X/RV260X Routers
Available Languages
Objective
The objective of this article is to show you how to configure access rules on the RV160 and RV260 routers.
Introduction
Access rules define the rules that traffic must meet to pass through an interface. An access rule permits or denies traffic based on the protocol, a source and destination IP address or network, and optionally the source and destination ports.
When you deploy access rules to devices, they become one or more Access Control Entries (ACEs) to Access Control Lists (ACLs) that are attached to interfaces. Typically, these rules are the first security policy applied to packets; they are your first line of defense. Each packet that arrives at an interface is examined to determine whether to forward or drop the packet based on the criteria you specify. If you define access rules in the out direction, packets are also analyzed before they are allowed to leave an interface.
Applicable Devices
- RV160
- RV260
Software Version
- 1.0.00.15
Configure Access Rules
To configure access rules on the RV160/RV260, follow these steps.
Step 1. Log in to the web configuration page of your router.

Note : In this article, we will be using the RV260W to configure access rules. The configuration may vary depending on the model you are using.
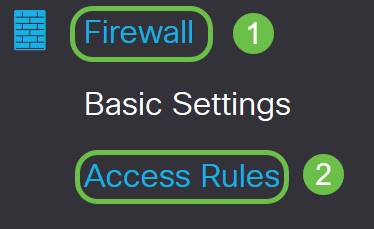
Step 2. Navigate to Firewall > Access Rules.
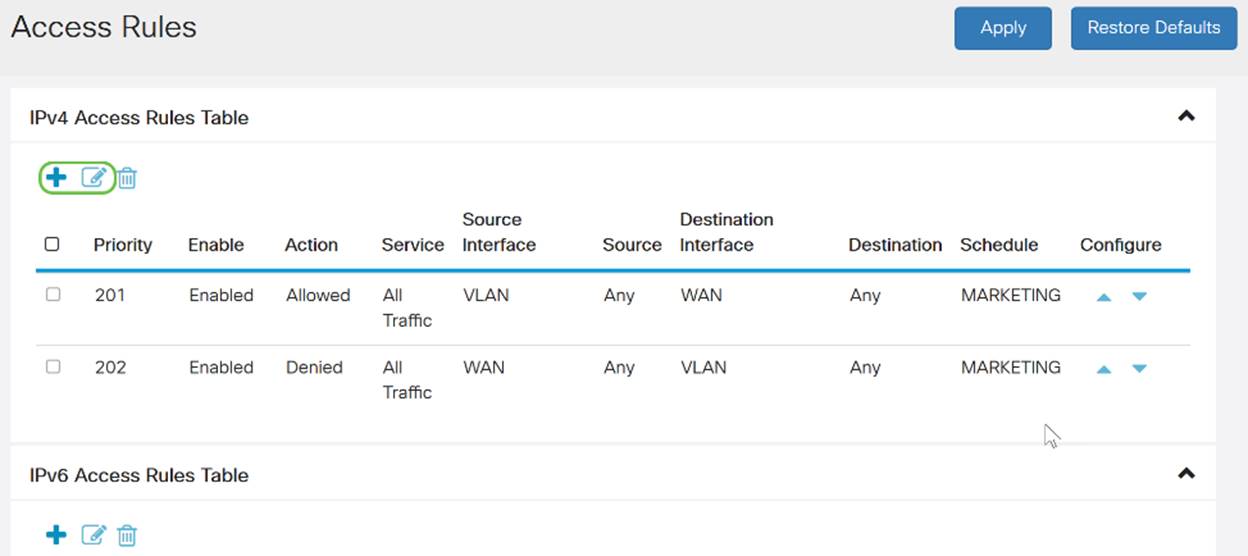
Step 3. In the IPv4 or IPv6 Access Rules Table, click Add or select the row and click Edit.
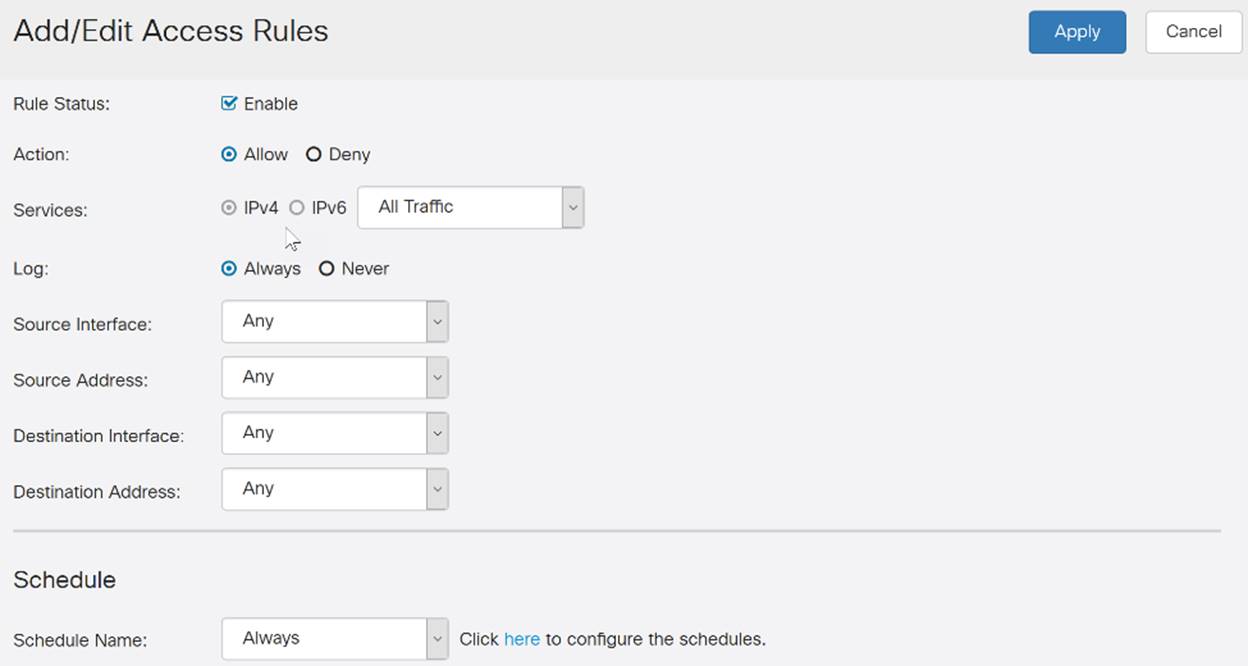
Step 4. In the Add/Edit Access Rules section, enter the following fields.
|
Rule Status |
Check Enable to enable the specific access rule. Uncheck to disable. |
|
Action
|
Choose Allow or Deny from the drop-down list. |
|
Services |
• IPv4 – Select the service to apply IPv4 rule. • IPv6 – Select the service to apply IPv6 rule. • Services – Select the service from the drop-down list.
|
|
Log |
Select an option from the drop-down list. • Always – Logs appear for packet that matches the rules. • Never – No log required.
|
|
Source Interface |
Select the source interface from the drop-down list.
|
|
Source Address |
Select the source IP address to which the rule is applied and enter the following: • Any – Select to match all IP addresses. • Single – Enter an IP address. • Subnet – Enter a subnet of a network. • IP Range – Enter the range of IP addresses.
|
|
Destination Interface |
Select the source interface from the drop-down list.
|
|
Destination Address |
Select the source IP address to which the rule is applied and enter the following: • Any – Select to match all IP addresses. • Single – Enter an IP address. • Subnet – Enter a subnet of a network. • IP Range – Enter the range of IP addresses.
|
|
Schedule Name |
Select Always, Business, Evening hours, Marketing, or Work hours from the drop-down list to apply the firewall rule. Then, click here to configure the schedules.
|
Step 5. (Optional) To configure schedules, click here next to Schedule Name.

Step 6. (Optional) Click Add to add a schedule or select the row and click Edit.
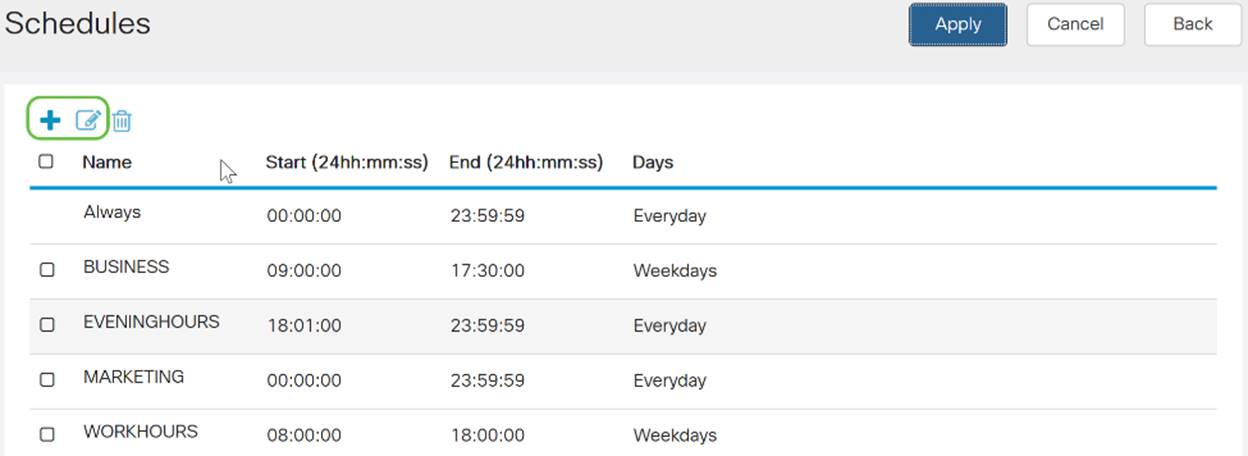
Note: For more information on configuration of schedule, click here.
Step 7. (Optional) Click Apply.

Step 8. (Optional) Click Restore Defaults, to restore the default settings.

Service Management
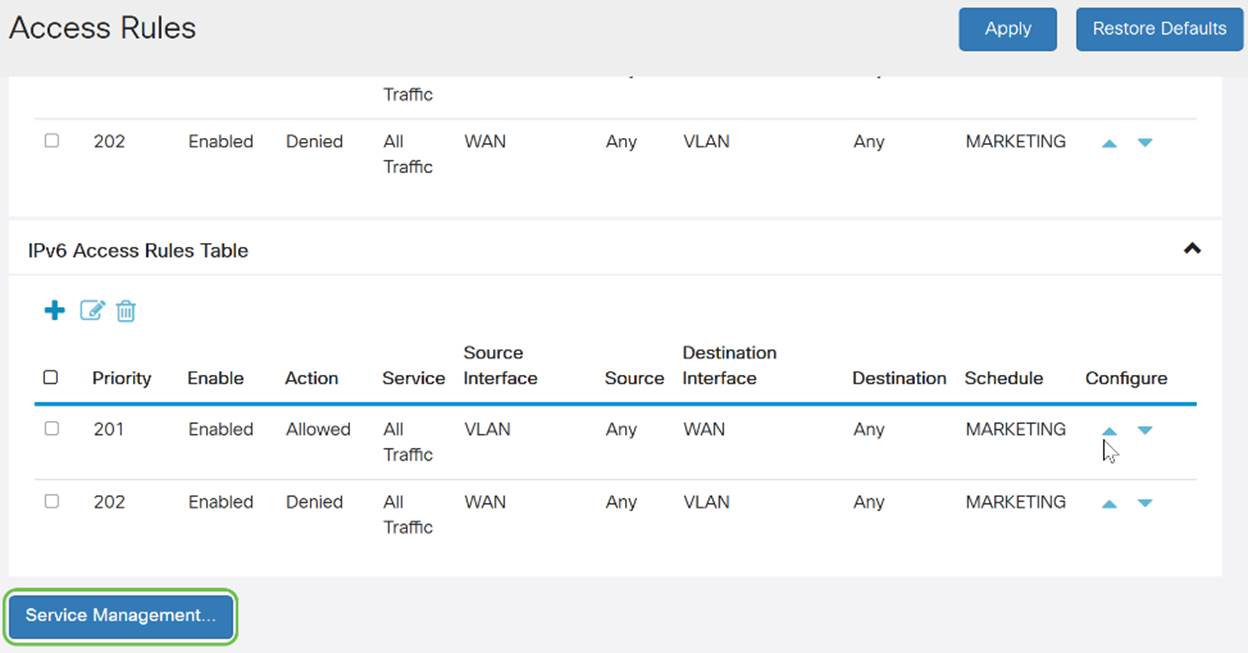
Step 1. To add or edit an entry on the Service list, click on Service Management.
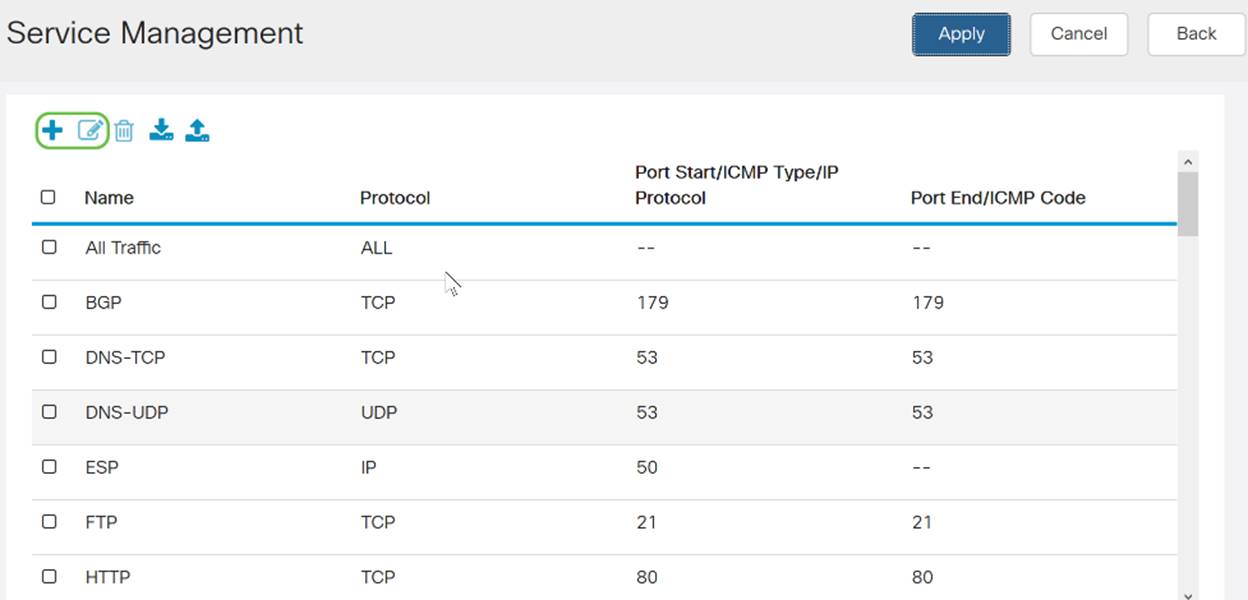
Step 2. To add a service, click Add under the Service table. To edit a service, select the row and click Edit. The fields open for modification.
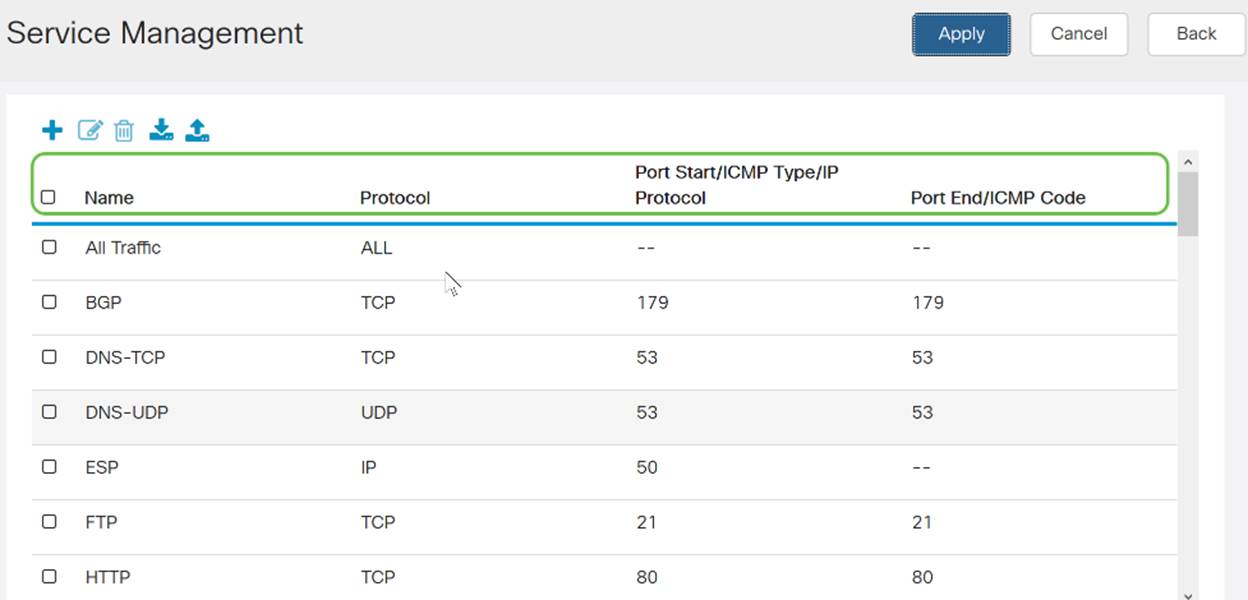
Step 3. You can have many services in the list:
- Name - Name of the service or application.
- Protocol - Select a protocol from the drop-down list.
- Port Start/ICMP Type/IP Protocol - Range of port numbers reserved for this service.
- Port End/ICMP Code - Last number of the port, reserved for this service.
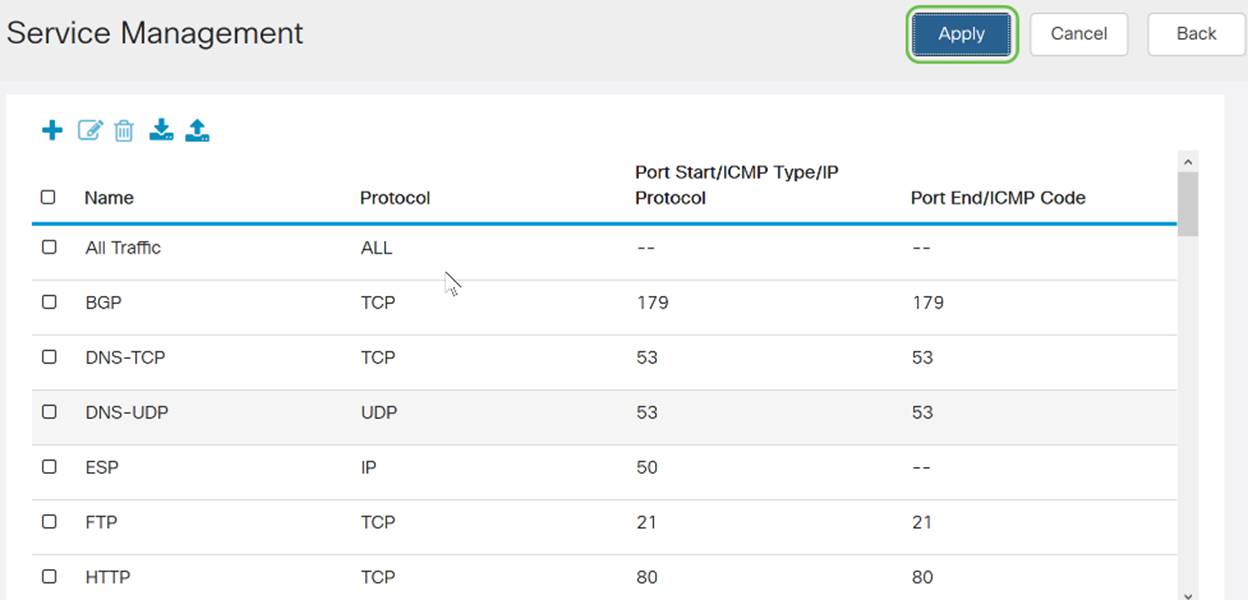
Step 4. If you’ve added or edited any settings, click Apply.
You should now have successfully configured access rules on your RV160/ RV260 router.
 Feedback