Introduction
This document describes the procedure to run LSI StorCli from EFI Shell using KVM (No need of flash drive).
Prerequisites
Requirements
Cisco recommends that you have knowledge of these topics:
- Using EFI shell on Cisco UCS Server
-
Using StorCli tool and it's command syntax, please refer to the command reference guide below.
https://docs.broadcom.com/docs/12352476
- EFI shell should be enabled to boot into.
Components Used
The information in this document is based on these software and hardware versions:
- UCS C series server with LSI PCIe based RAID controller.
- StorCli EFI driver/tool
Download Storcli tool: https://www.broadcom.com/support/download-search
The information in this document was created from the devices in a specific lab environment. All of the devices used in this document started with a cleared (default) configuration. If your network is live, ensure that you understand the potential impact of any command.
Configure
Step 1. Download Storcli from Management Softwares and Tools (link), extract the folder and navigate the EFI folder. Get the Storcli file with .EFI extension, as shown in the image:


Step 2. Create a new folder by any name, here it is created by the name EFI and storcli.efi is copied in that folder.
Launch KVM of the server and as shown in the image, go to Virtual Media create image option.
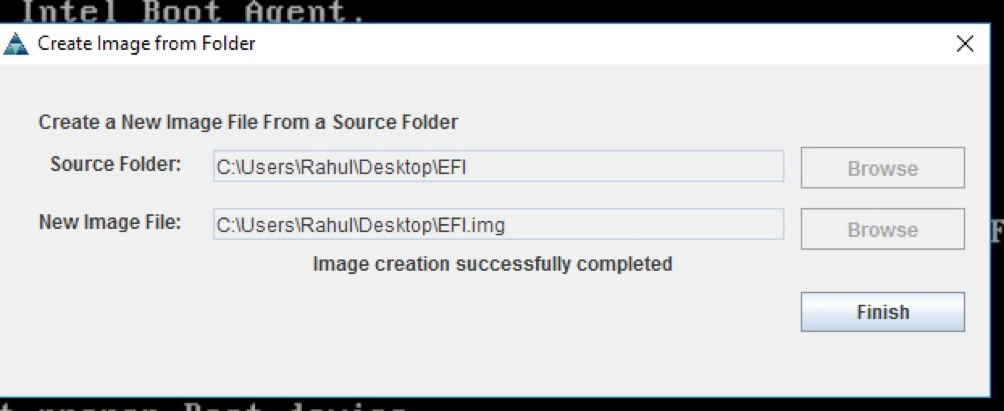
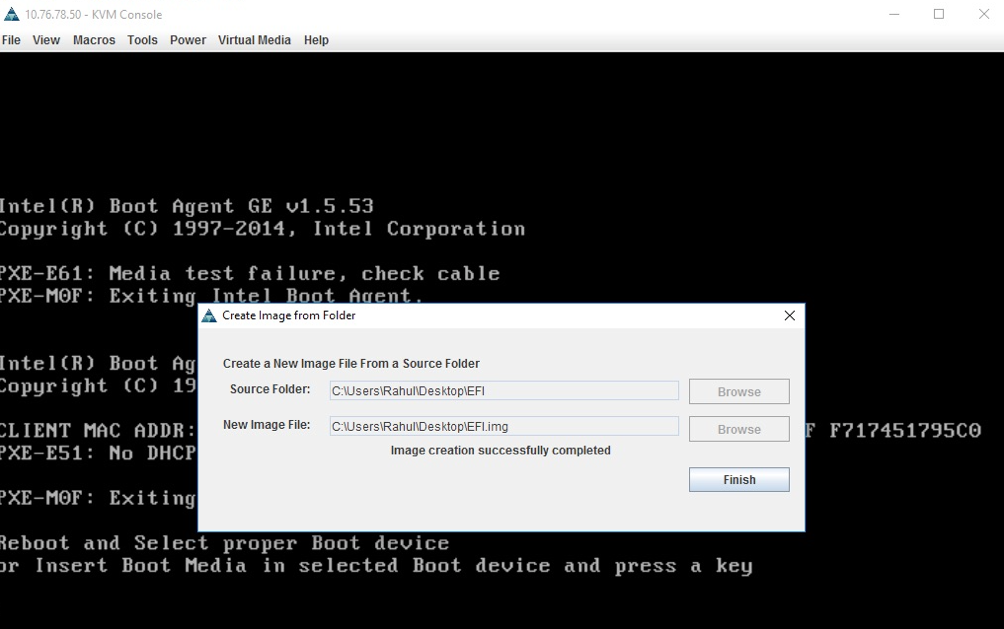
Browse to provide source folder on Create Image from Folder pop up. Source folder selected here is the EFI folder which was created earlier, it contains the storcli.efi file.
Also, Browse the destination path for the IMG file. As shown in the image, click Finish to create the IMG file.
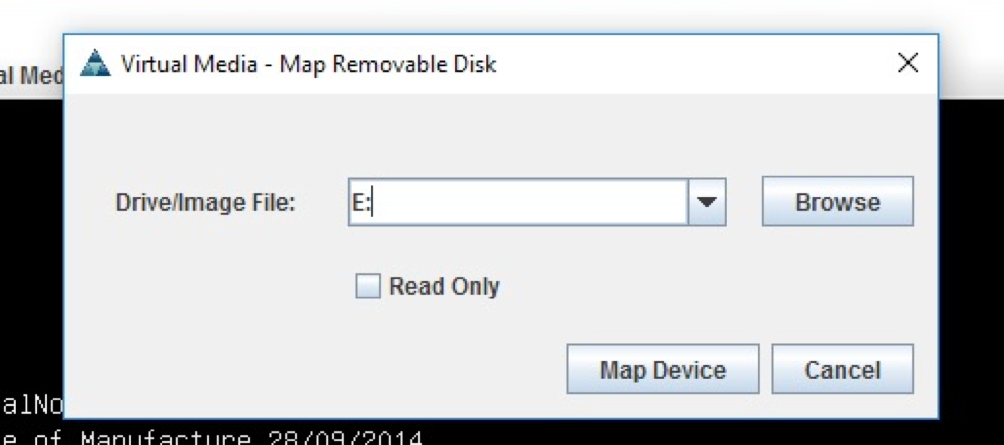
Step 3. Browse the file and mount it as removable media and do not check Read Only box. The reason behind this is that you have to write the log files as well to IMG file.


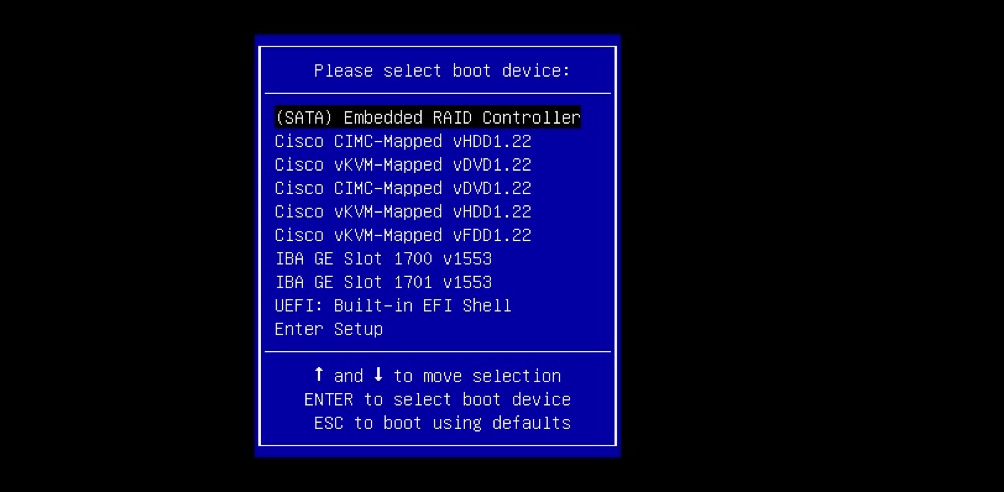
Step 4. Boot the server in Built-in EFI Shell
Step 5. Once booted into the Shell, Use the map –r command to refresh file system mappings (may not be needed if removable device is connected before server boot).
shell> map -r
Enter one of the fsx file systems available, such as fs0 or fs1, and then press Enter. The prompt changes to fsx>, where x is the number of the file system selected.
Shell> fs0:
fs0:\> dir

Step 6. Change Directory to change to the EFI folder.
fs0:\> cd EFI
fs0:\EFI> ls

You are good to run the Storcli commands now.
Important points to remember:
- PgUp and PgDn keys to scroll up and down in EFI shell.
- page=n (n is the number of lines you want to be displayed on the screen as output, for example page=10)
- Use regular append command to write output in a file (by default if no full path is defined, files are written in present working directory of the fs mounted).
- Direct output to file use >. For example storcli.efi /c0 show term log > term log.txt
- Append output to existing file, use >>. For example, storcli.efi /c0 show term log >> term log.txt
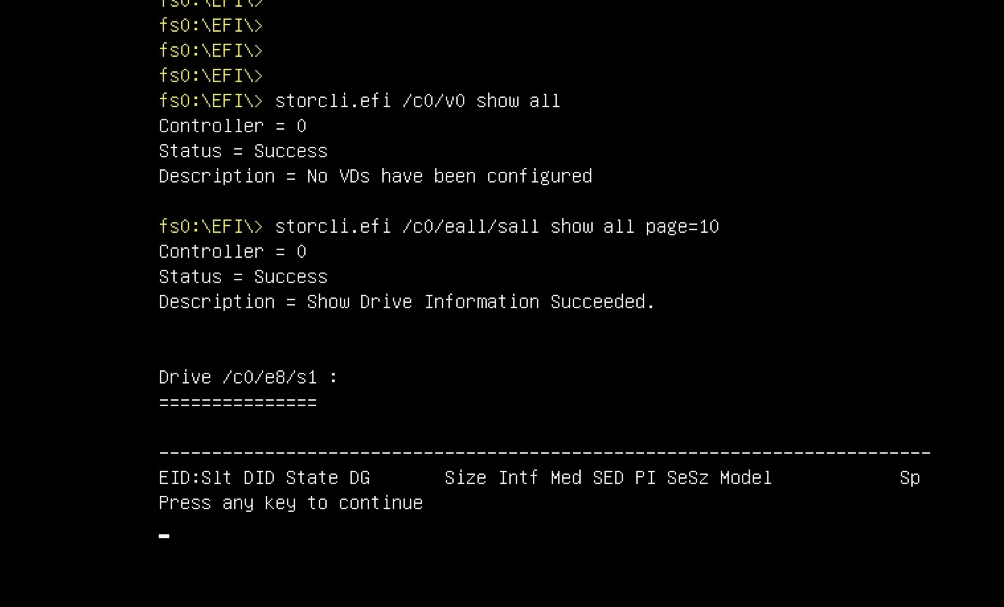
These images show the examples of saving the output to a file in the same folder as storcli; After troubleshooting you can extract/mount the EFI.IMG file to get the logs collected.
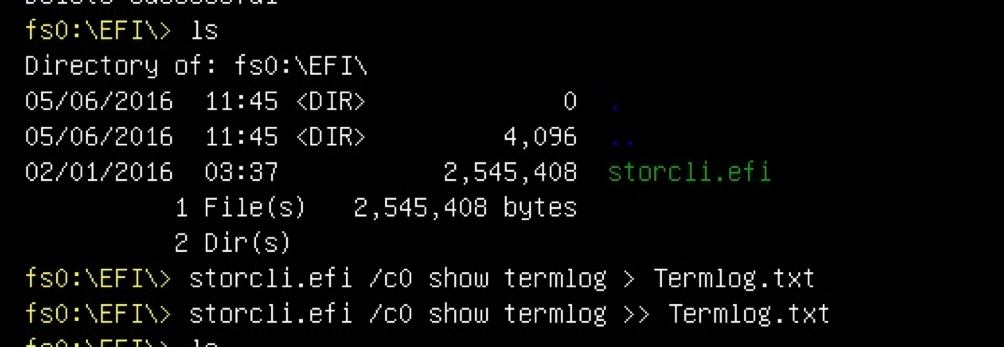
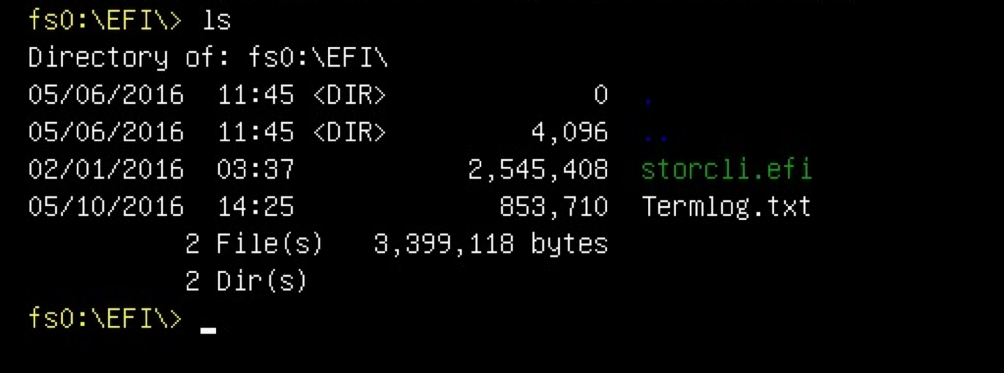
Explore the IMG file to get the logs.
Few Important commands to run while collecting logs:
- storcli /c0 show all > adpinfo.txt
- storcli /c0 show events file > Events.txt
- storcli /c0 /eall show phyerrorCounters > Phy.txt
- storcli /c0 show termlog > Termlog.txt
- storcli /c0/eall/sall show all > PD.txt
- storcli /c0/vall show all > VD.txt
- storcli /c0/cv show all > BBU.txt
Verify
There is currently no verification procedure available for this configuration.
Troubleshoot
There is currently no specific troubleshooting information available for this configuration.
