Introduction
This document describes the process to install and configure the Secure Endpoint connector for Windows.
Prerequisites
Requirements
Cisco recommends that you have knowledge of these topics:
- Windows Operating System
- Secure Endpoint Console
Components Used
The information in this document is based on Cisco Secure Endpoint for Endpoints for Windows.
The information in this document was created from the devices in a specific environment:
- Windows 10 device
- Secure Endpoint Console
The information in this document was created from the devices in a specific lab environment. All of the devices used in this document started with a cleared (default) configuration. If your network is live, ensure that you understand the potential impact of any command.
Install
Download Installer via Console
- In order to download an installer by policy configuration, you need to log in to your Secure Endpoint console. Once you are in your dashboard, create a new group, or use an existing one.
- Once the group is selected, create a policy, or use an existing one.
- Navigate to the Policy configuration Management > Policies, expand the policy, and click Edit. Under the Product Updates section, select the version you wish to install.
- Navigate to Management > Download connector.
- Select the group where the endpoint you want to install the connector belongs to.
- Select Download to use the package. You can use the URL to share it so someone else can download the package.
Connector Installation
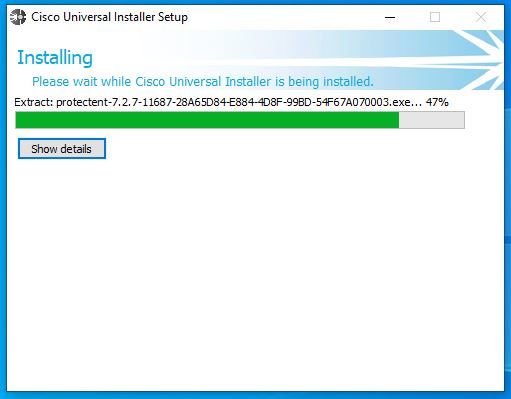
Once you have downloaded your installer to the Windows machine desired, you can proceed to install the connector.
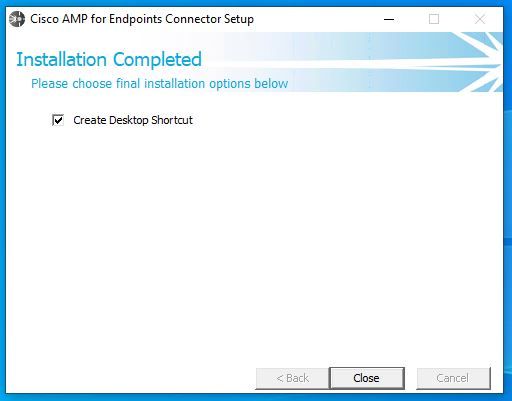
Click Next and select if you want to create a shortcut on the Desktop.
If you want to download the connector without any additional configuration, run the installer and use the Wizard.
Command-Line Switches
Command-line switches allow you to automate the Secure Endpoint connector deployment.
If you want to install the connector with command-line switches, you can find the list of the commands available below.
/desktopicon to create or not the desktop icon./startmenu to enable or disable the Start Menu shortcuts./contextmenu to enable or disable the Scan Now option./remove 0 to uninstall the connector, however, Secure Endpoint files and folders remains on the endpoint./remove 1 to uninstall the connector. The Secure Endpoint files and folders are completely removed from the device./uninstallpassword if you have Connector Protection password, you can use this command and add the password to uninstall the connector./skipdfc 1 since the DFC driver is installed by default, if you do not want to install the driver. This command is useful to skip the installation of the DFC driver./skiptetra 1 Tetra driver is also installed by default and this command avoids the installation of the driver.
For more information, you can refer to the User Guide.
In order to install the Secure Endpoint connector with command-line switches:
- Navigate to the device where you want to install the connector.
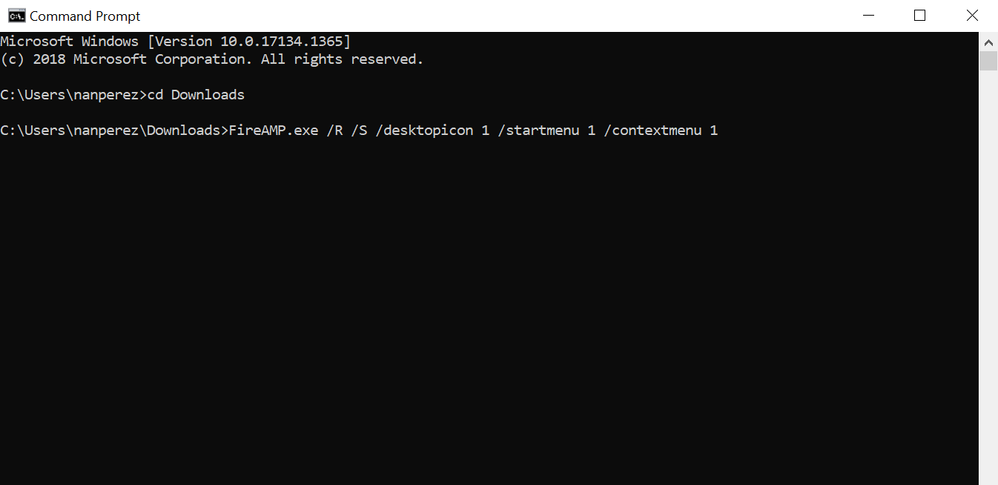
- Open the Windows command line and navigate to the folder where the package is located.
- Now you can type the package name used by the command line switches of your preference, as shown in the image.
Downgrade Connector to Previous Version
Unfortunately, Secure Endpoint does not have an in-product downgrade capability. The downgrade process requires you to uninstall the connector and reinstall the older connector on the endpoint directly or via their existing systems administration methods.
Uninstall via Windows UI
Open File Explorer, navigate to C:\Program Files\Cisco\AMP\<version_number>, and select uninstall.exe.
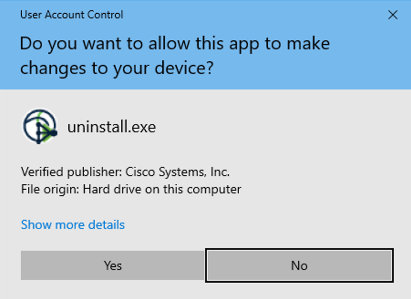
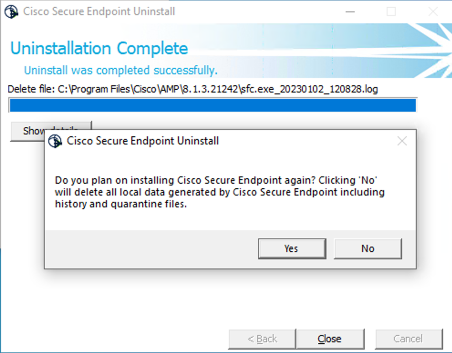
Proceed through the Uninstall menus until the Uninstallation Complete screen.
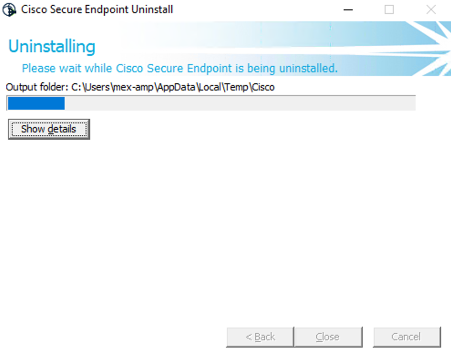
Select Close. When asked if you plan to install the connector again, select Yes to keep historical data or No to remove all data.
Command-Line Switches
To perform a silent and complete uninstallation of connectors, the switch would be:
AMP_Installer.exe /R /S /remove 1
You can also perform these in non-silent modes if /S is removed.
After the uninstallation is finished, the next step is to install the previous version that wants to be downgraded as shown in the Install section.

Caution: If driver changes were made during the upgrade process, a reboot can be necessary in order to clear the drivers to allow the installation of an older endpoint.
Verify
Use this section to confirm that your configuration works properly.
At this point, your windows connector is installed.
You can navigate to the Secure Endpoint connector graphical interface to verify that the status is Connected.
In order to access the Secure Endpoint interface, open the Search taskbar of your computer and look for the AMP for Endpoints connector or you can look for the iptray.exe file under C:\Program Files\Cisco\AMP\<connector version> and open it.
Another way to verify that Secure Endpoint runs correctly from Windows Services is to check if the Cisco Secure Endpoint service runs on your device.
Related Information


 Feedback