Introduction
This document explains the installation process of Virtual vCUSP on an ESXi host.
Prerequisites
Requirements
Cisco recommends that you have knowledge of these topics:
- Cisco Unified SIP Proxy (CUSP)
- Unified Computing System (UCS) serve
Items and actions required before you apply the steps described in this document
- Cisco Unified SIP Proxy (CUSP) OVA file.
- Unified Computing System (UCS) server
- VMware ESXi (starting with version 5.1) should be installed on the UCS server.
- Network configuration should be done on the ESXi host before deploying the CUSP OVA.
- Physical host with the following hardware requirements:
vCPU = 2
Memory = 4GB
Hard drive = 80GB
Network: IP address of your VLAN
- VMware ESXi platform support : Minimum supported version is 5.1
Components Used
The information in this document is based on these software versions:
- UCSC-C240-M4S server.
- VMware ESXi version deployed :- ESXi 6.0U2
- CUSP version :- 9.0.1
The information in this document was created from the devices in a specific lab environment. All of the devices used in this document started with a cleared (default) configuration. If your network is live, make sure that you understand the potential impact of any command.
About the ESXi networking
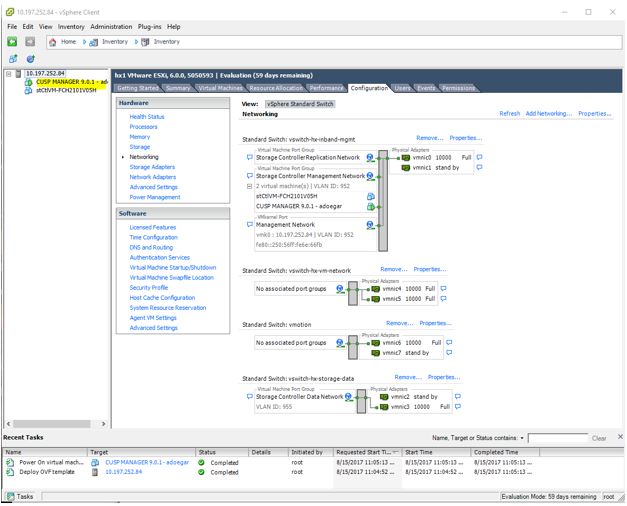
This document uses networking configuration by utilizing the standard switch on the ESXi host. You can also use a Distributed Virtual Switch (DVS) as well.
A network standard switch, virtual switch (vSwitch), is responsible for connecting virtual machines to a virtual network. A vSwitch works similar to a physical switch -- with some limitations -- and controls how virtual machines communicate with one another.
This is the same standard switch configuration snapshot of the ESXi host .
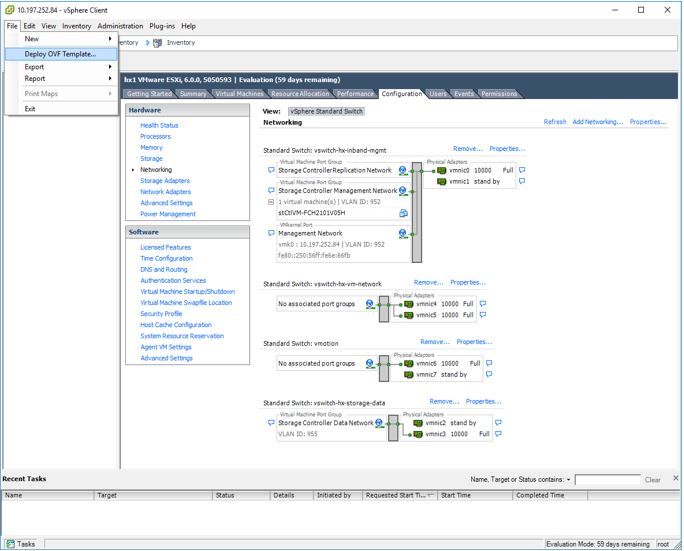
Configuration
Steps to deploy the CUSP server
Step 1. Deploy the CUSP OVA on the ESXi host :
Click on Browse option and upload the CUSP OVA file from your local machine.
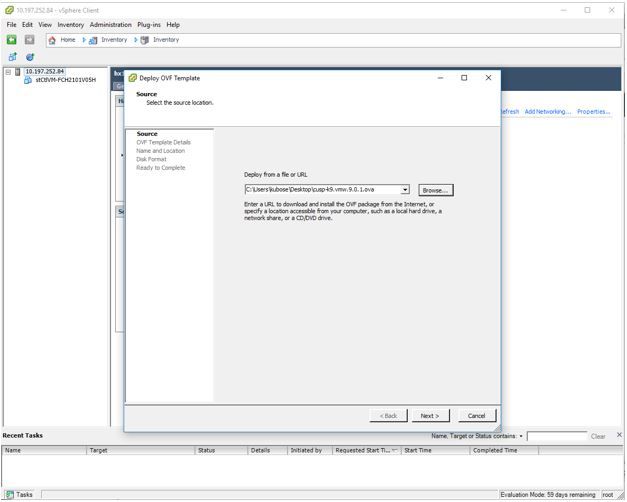
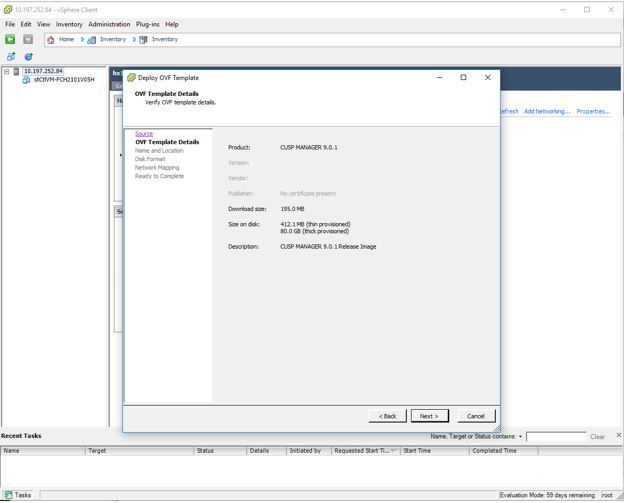
Step 2. Confirm OVF template details.
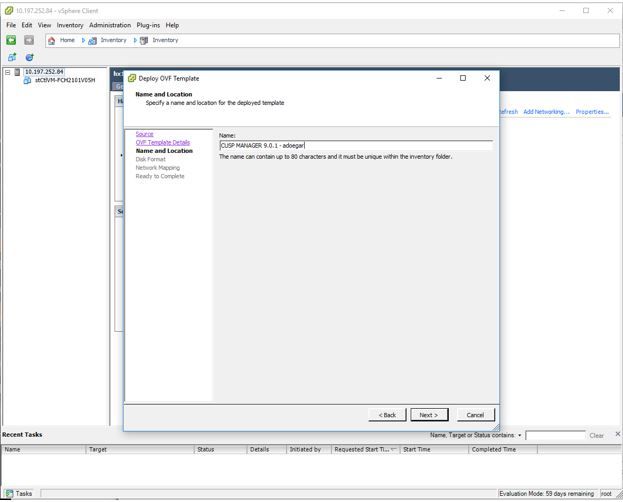
Step 3. Specify a name for deployment and for easy identification of your device.
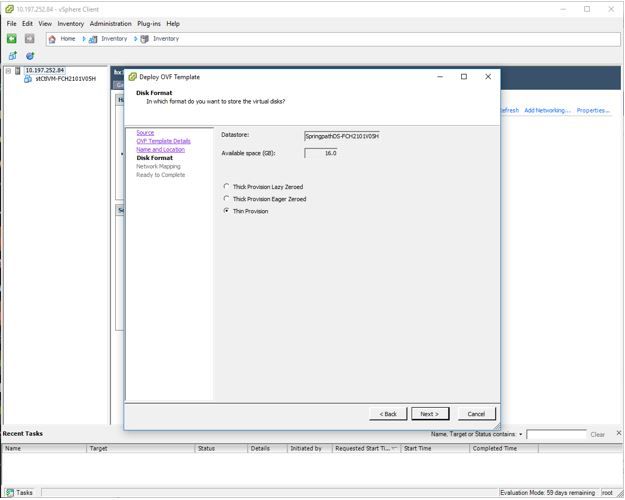
Step 4. Select disk format.
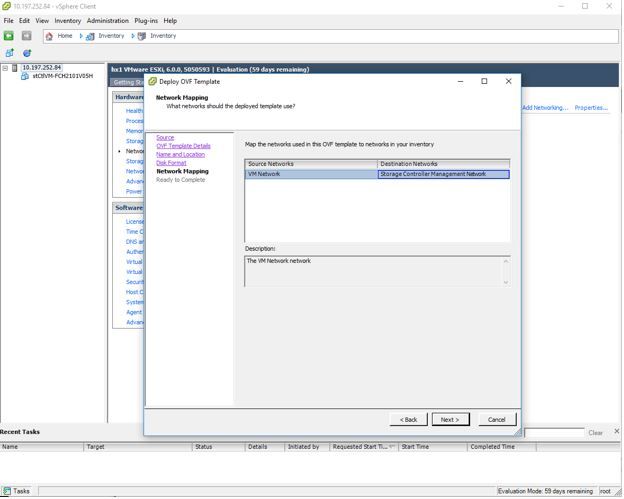
Step 5. Select the VM network in which you want to deploy the device.
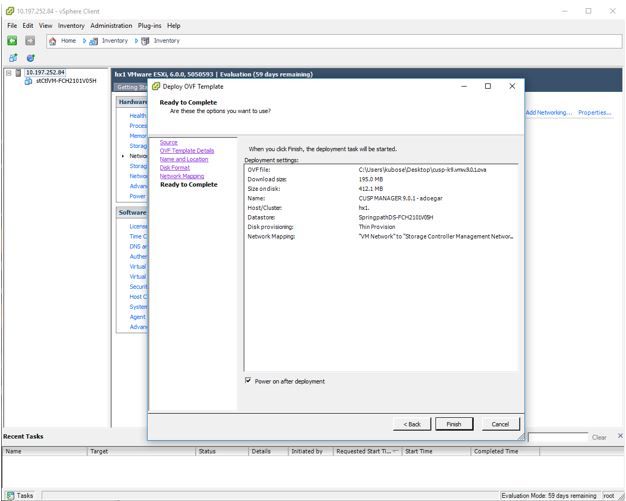
Step 6. Confirm the details and click on Finish option to deploy the VM.
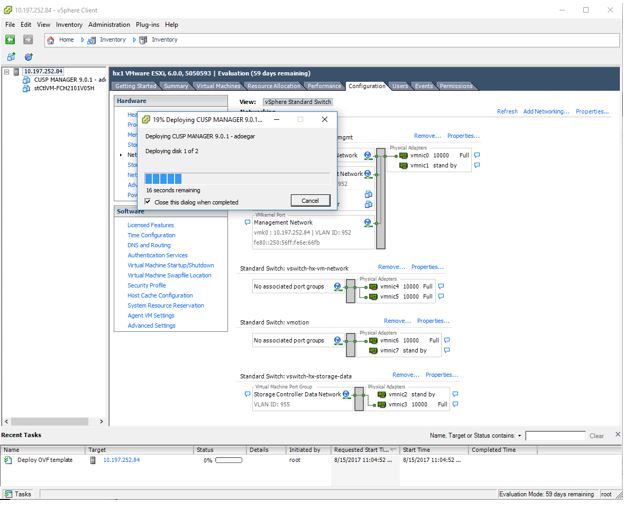
Step 7. VM installation in progres.
Step 8. CUPS VM deployment completed. Highlighted is the VM.
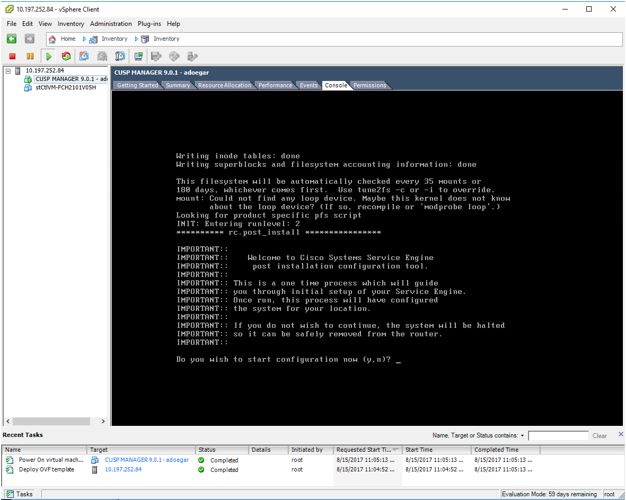
Step 9. Select the CUSP VM and click on the Console tab.
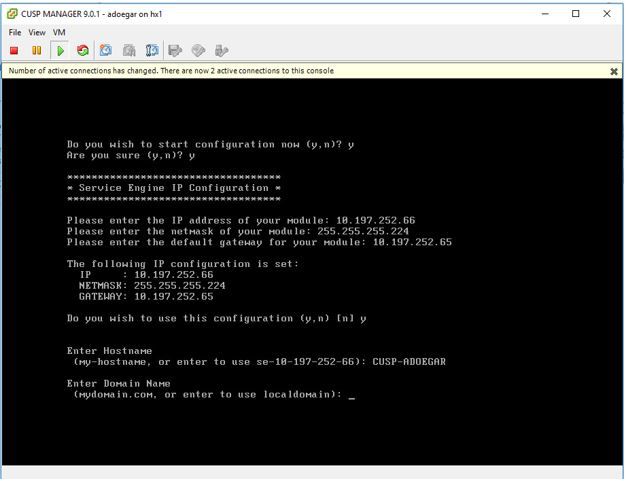
Step 10. Enter the necessary details in order to get connectivity like IP address, subnetmask, default gateway, DNS address, NTP address username/password.
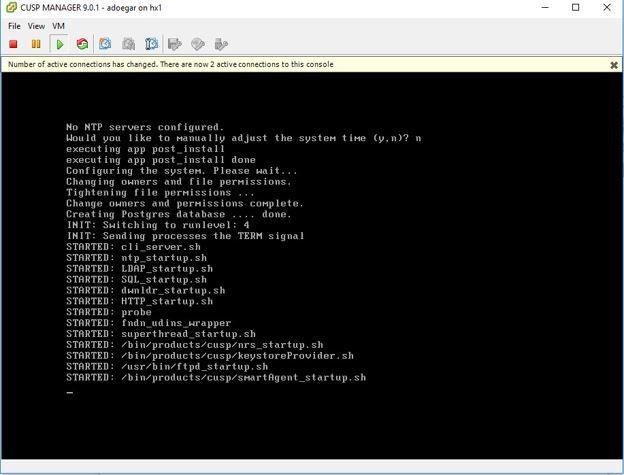
Step 11. Once the configuration is saved the installation of the shell scripts starts.
Step 12. Ready to use the CUSP VM.
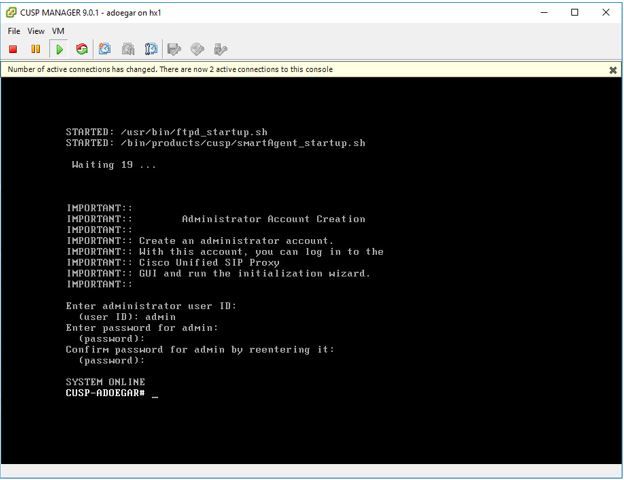
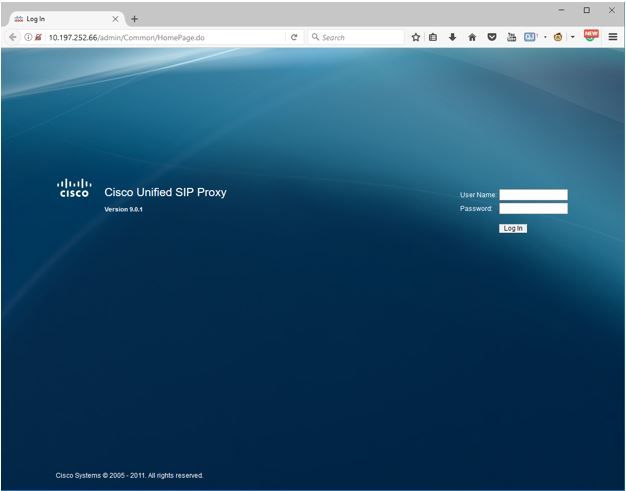
Step 13. Type the IP address on the web browser and login to the CUSP server.

Configure Subinterfaces on vCUSP using Command Line Interface (CLI)
You can define multiple sub interfaces in vCUSP and there is no specific restriction on the number of sub interfaces from vCUSP side.
This is one example for creating a sub interface.
- Open SSH session to your vCUSP
- Configure subinterface for FastEthernet 0 under configure terminal:
Interface FastEthernet 0.10
 ip address 10.64.86.229 255.255.0.0
end
3. Issue command show intefaces to verify:
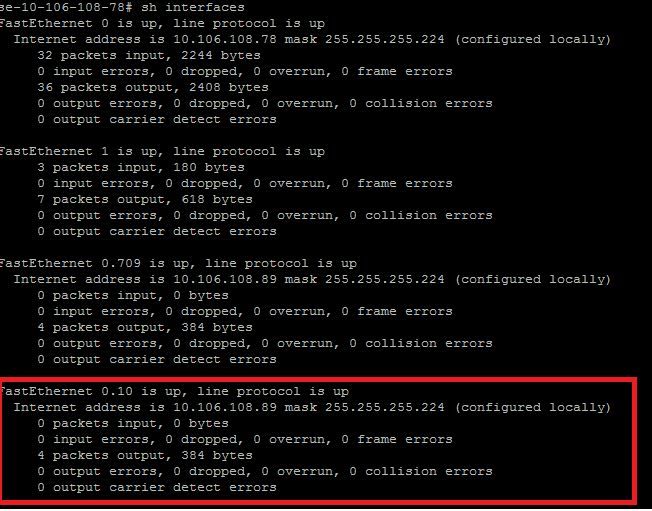
Note: Subinterface creation on FastEthernet 1 is not possible as of now.
