Introduction
This document describes how to configure for the first time, a Hybrid Calendar environment with Office 365 (O365), along with Webex Control Hub and Telepresence Management Suite (TMS).
Network Diagram
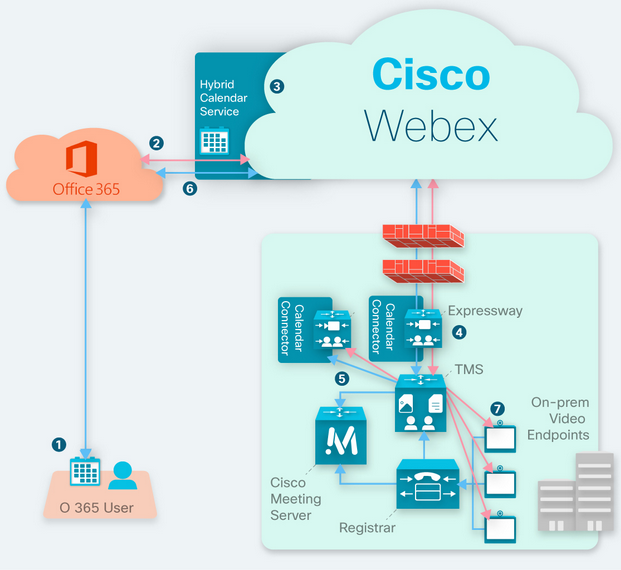
Prerequisites
Requirements
Cisco recommends that you have knowledge of these topics:
- TMS 15.9 version installed or later.
- Expressway as Connector configuration.
- Webex Control Hub general configuration.
- Office 365 general configuration knowledge.
- Telepresence device registered to Cisco Unified Communication Manager (CUCM).
- Cisco Meeting Server (CMS) general configuration.
Components Used
The information in this document is based on these software and hardware versions:
- CMS version 3.0.
- TMS version 15.13.
- Office 365.
- Webex Control Hub.
- Expressway-C version X12.7.1.
The information in this document was created from the devices in a specific lab environment. All of the devices used in this document started with a cleared (default) configuration. If your network is live, ensure that you understand the potential impact of any command.
Configure
Webex Control Hub Integration with Office 365
Step 1. Open Control Hub admin site: https://admin.webex.com.
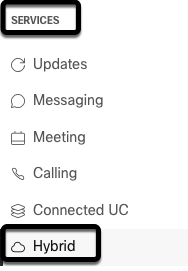
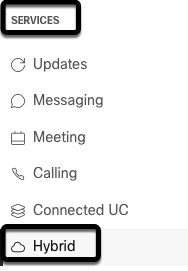
Step 2. Navigate to Services>Hybrid menu.
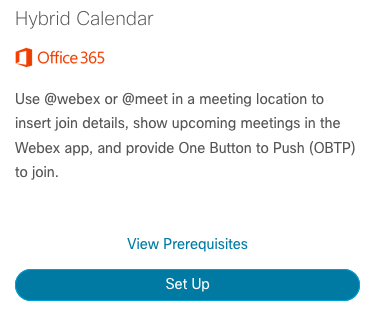
Step 3. Locate Office 365 Hybrid Calendar option, and select Set Up.
Step 4. Select the instance which suits your O365 environment, and select Authorize. After this, a redirect to O365 admin site takes place.
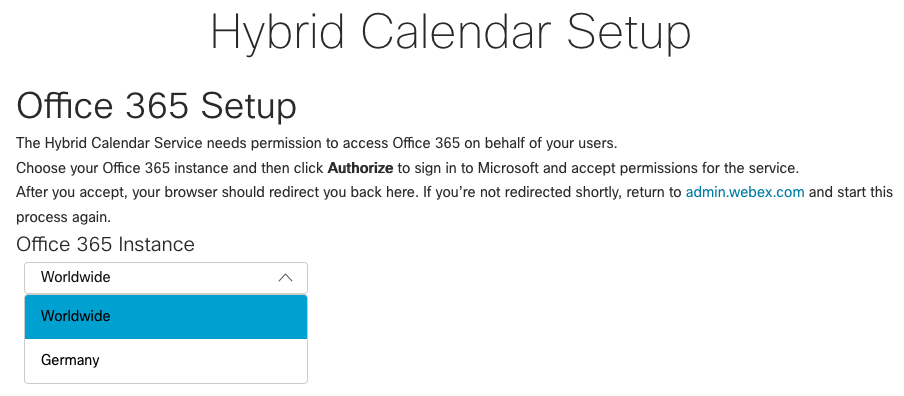
Note: For most cases, Worldwide Instance applies.
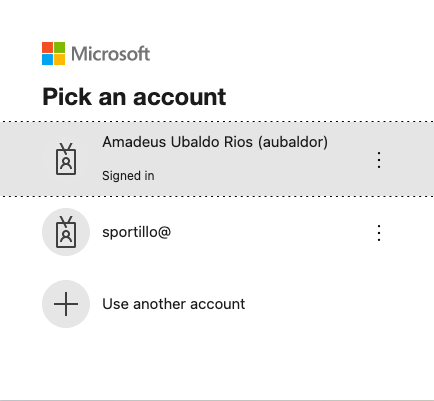
Step 5. Continue with the Authorization process for Control Hub and O365. Use an O365 account with admin priviledges.
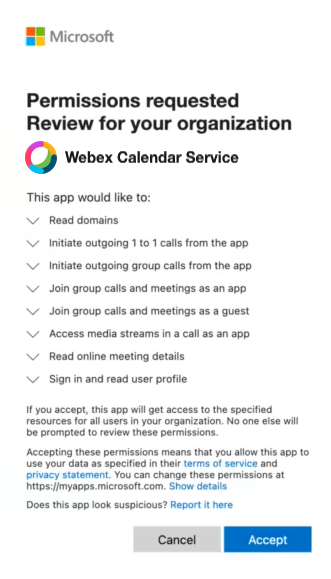
Step 6. Validate the premissions requested by Webex Calendar Service and select Accept. A new redirect takes place to https://admin.webex.com site.
Step 7. In the Hybrid Calendar setup window, enter the email address of an account in Office 365 in order to test the connection, and select Test. This test creates an event in the user's calendar, to validate access and provisioning. Once this process finishes, select Done.
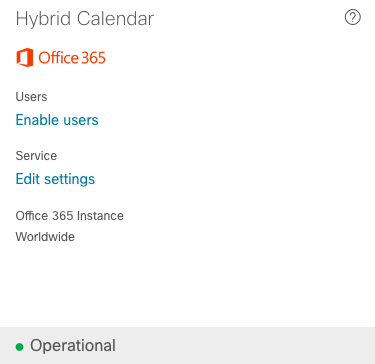
Step 8. Navigate to Services > Hybrid, in order to validate Hybrid Calendar option for O365 is reported as Operational, .
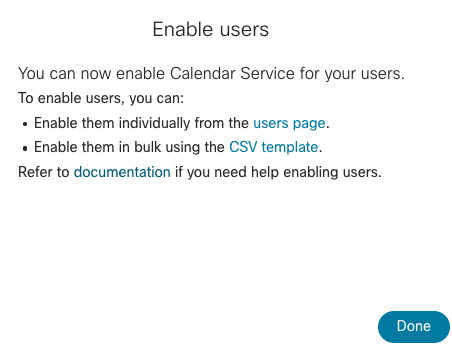
Step 9. Select Enable Users, in order to add Hybrid Calendar feature to a test user. For this case, only a test user from User Page section is added.
Step 10. Navigate to Webex Control Hub main page, locate Management section, and select Users.
Step 11. Select the desired User listed, to have hybrid calendar enabled for it.
Step 12. Navigate to Hybrid Services > Calendar Services.
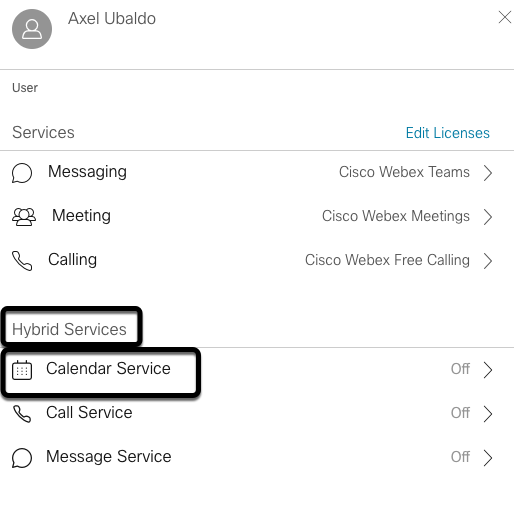
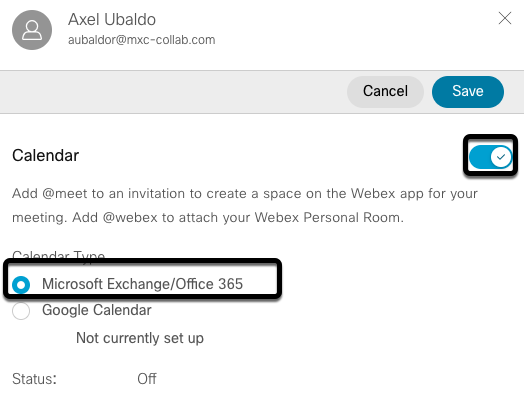
Step 13. Validate the option Microsoft Exchange/Office 365 is selected. Enable the calendar option and Save the changes. Repeat for each user which requires Hybrid Calendar service.
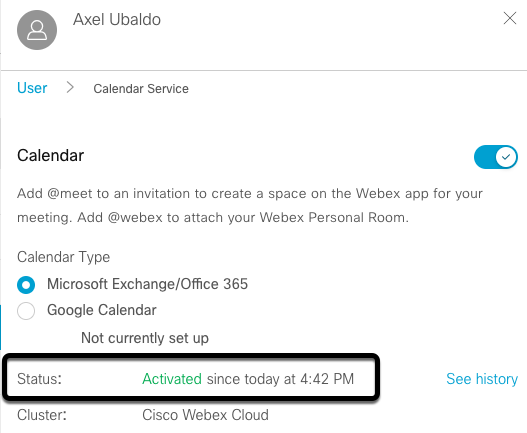
Step 14. Validate over the same User's configuration, Hybrid Calendar status is listed as Activated.
Webex Control Hub @meet Keyword Configuration
Step 1. Open Control Hub admin site: https://admin.webex.com.
Step 2. Navigate to Services>Hybrid menu.
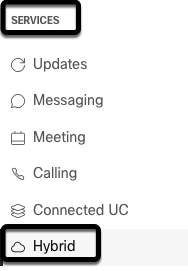
Step 3. Locate Hybrid Calendar box for Office 365, and select Edit Settings.
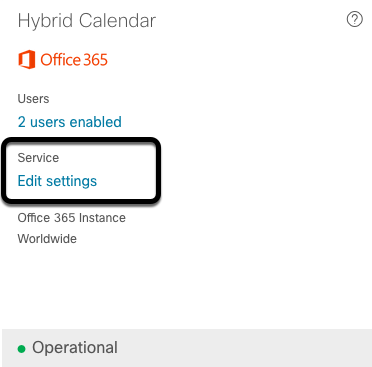
Step 4. Locate Keywords section, and select Cisco TelePresence Management Suite option from @meet drop-down menu.
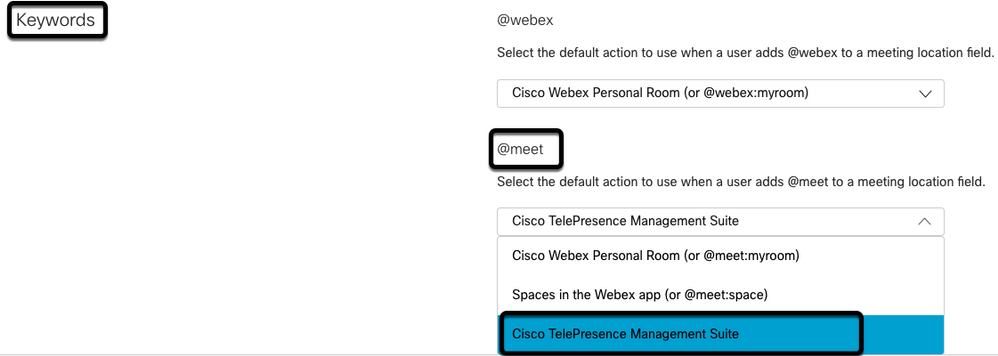
Step 5. Select Save.
TMS Device Room Mailbox Configuration
Step 1. Login to TMS web admin page.
Step 2. Navigate to Systems > Navigator menu.
Step 3. Locate the device and open the device settings.
Step 4. Select the Settings tab, and navigate to Edit Settings sub menu.

Step 5. Locate Email Address section, and configure the room mailbox address.
Step.6 Repeat steps 3 through 5, for the rest of the devices considered for this solution.
Expressway Connector Connection with Webex Control Hub
Step 1. Open Control Hub admin site: https://admin.webex.com.
Step 2. Navigate to Hybrid Services > Calendar Services.
Step 3. Locate Exchange Hybrid Calendar, and select Edit Settings.
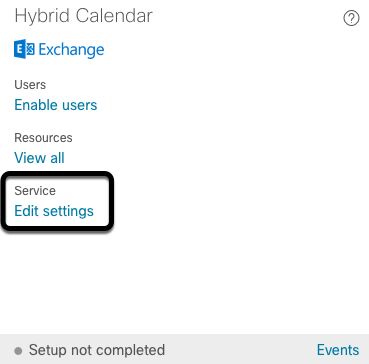
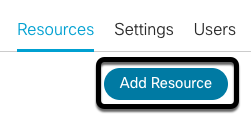
Step 4. Locate Resources option, and select Add Resource option.

Step 5. Configure the Expressway Connector Fully Qualified Domain Name (FQDN) with format hostname.domain, for Webex Control Hub to stablish a trust with the Expressway server.
Note: Use only lowercase characters in order to configure Expressway Connector FQDN. Capitalization is not supported yet.
Step 6. Configure an Expressway Connector display name for Webex Control Hub.
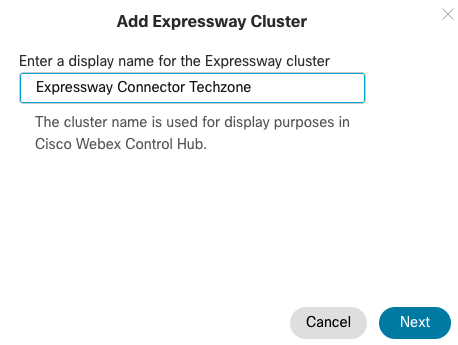
Step 7. Select Next, in order to complete the Expressway Connector Setup from Webex Control Hub perspective. After this, a redirect to Expressway Connector web admin page takes place.
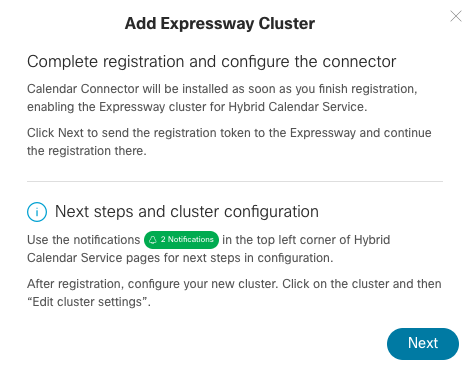
Step 8. Sign in to Expressway Connector web admin page, in order to load Connector Management.
Step 9. Choose one of the two available options, in order to update Expressway Connector's certificate trust store.
- Check the box: Allows Cisco Webex to automatically update Expressway trust store, with the required Certificate Authority (CA) certificates. This installs the root certificates which signed Cisco Webex certificates. This allows Expressway-C to automatically trust those certificates, and to establish a secure connection with Cisco Webex.
- Uncheck the box: Manually load the required root certificates into Exppressway's trust store.
Step 10. Select Register. Validate the information displayed matches with Expressway server details.
Step 11. Select Allow in order to complete Expressway Connector registration with Webex Control Hub.
Link Expressway Connector with TMS
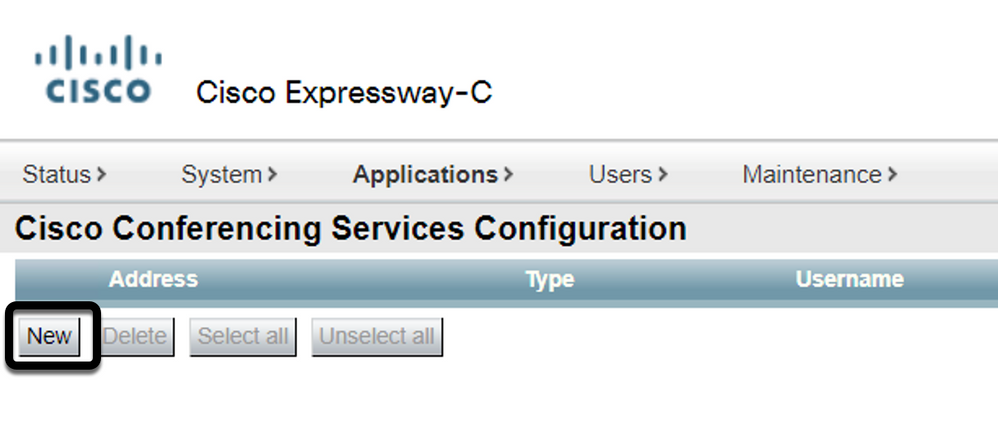
Step 1. From Expressway Connector web admin page, navigate to Applications > Hybrid Services > Calendar Service > Cisco Conferencing Services Configuration, and select New in order to access the configuration.
Step 2. Locate Conferencing Service section, and select TMS.
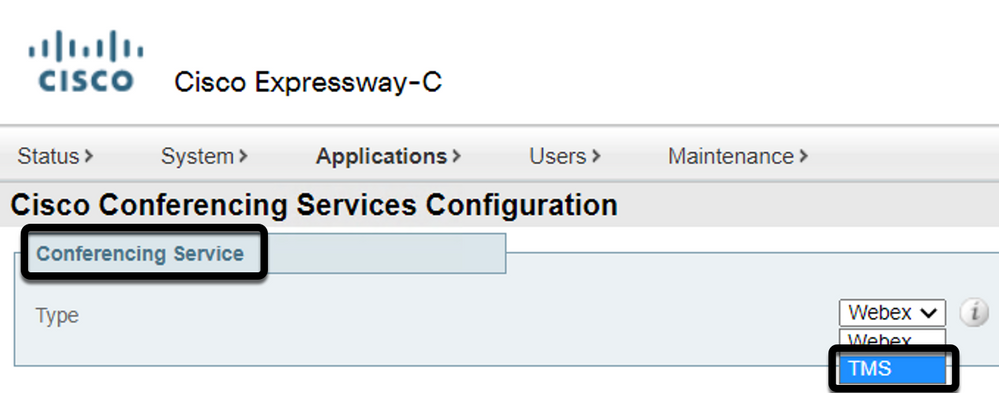
Step 3. Locate TMS Admin Credentials section, configure Username and Password, with a user from TMS which has Site Admin priviledges.

Note: Domain portion is not required under Username field.
Step 4. Locate TMS Server Details section. For Fully Qualified Site Name configure the complete FQDN from TMS server. For TMS Domain Name field, configure only the domain and subdomain portion.

Step 5. Locate Telephony Invite Details, configure the required details for the fields Toll Identifier, Toll Number, Toll Free Identifier, Toll Free Number and Global Call-in Numbers (URL).

Note: Those fields are not mandatory and can be left without any particular configuration. This can be modified later.
Step 6. Select Test Connection, in order to validate Expressway Connector and TMS connection. This test takes about a minute, and a banner appears afterwards with a message to confirm connection test was successful.
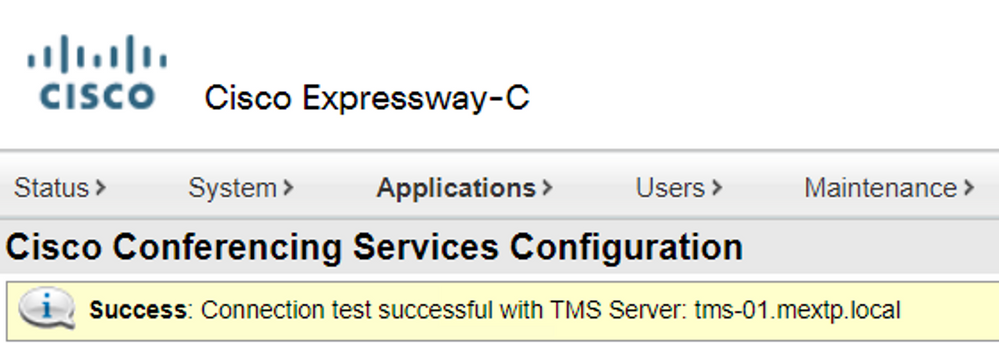
Step 7. Select Add, and validate TMS server is listed on Cisco Conferencing Services Configuration section.
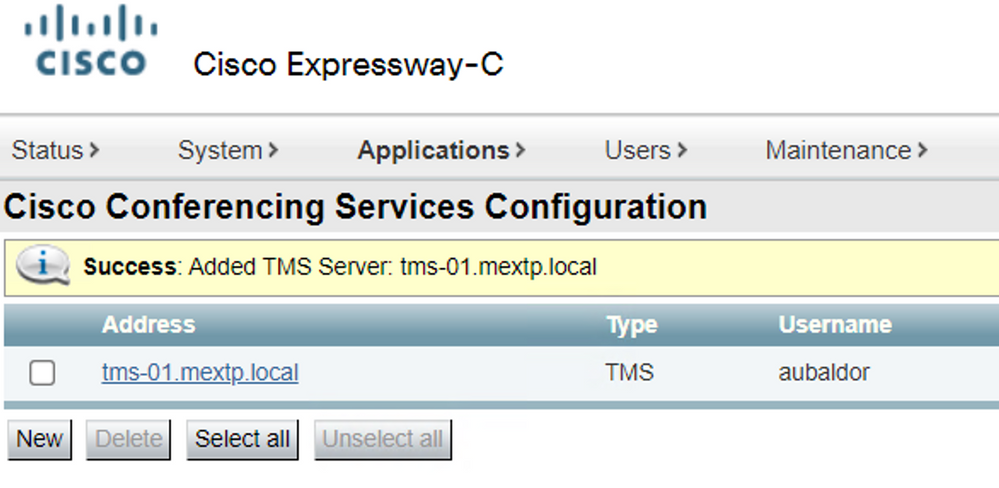
Step 8. Navigate to and select Calendar Connector . It is listed as Not Enabled at this point.

Step 9. Locate Actve option drop-down menu, select the Enabled option and select Save, in order to finish this process.
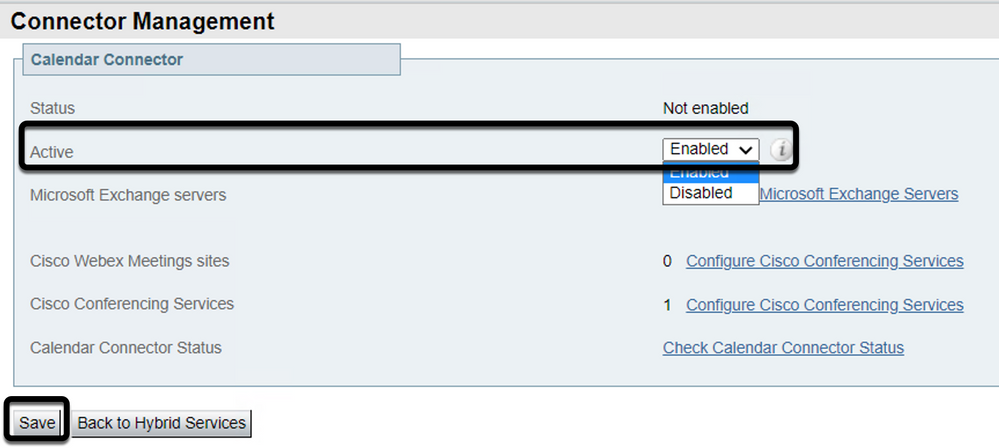
Step 10. Validate Calendar Connector status now is listed with both Running and Enabled attributes.

Verify
Step 1. From Office 365 calendar, select a day to create a new meeting.
Step 2. Add a Title for the test meeting. Under the Attendees field, add the room mailbox addresses which are now linked to your devices on TMS, and any additional attendee required for that meeting.

Step 3. Select the time of the meeting, and confirm a recurrence if required.

Step 4. Locate the Location field, and configure the @meet keyword. This is the one Control Hub identifies, in order to forward it to TMS. Select Send in order to forward the meeting invite.

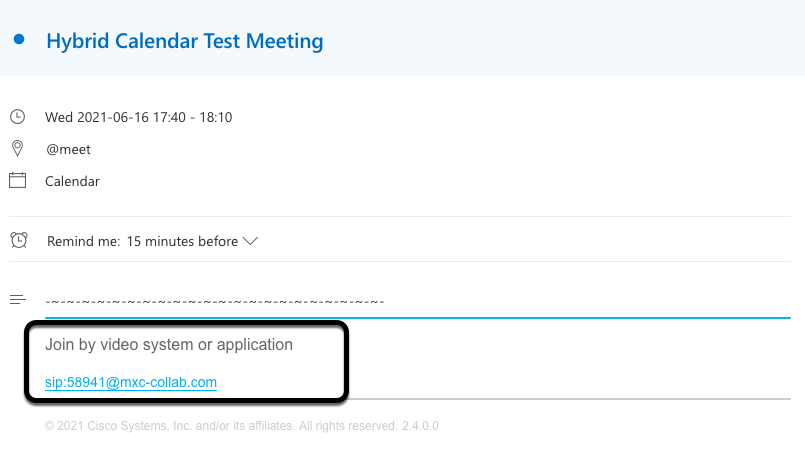
Step 5. After a few minutes, open the meeting over your Outlook calendar. Meeting details are now updated with a CMS space URI, which TMS assigned for that meeting.
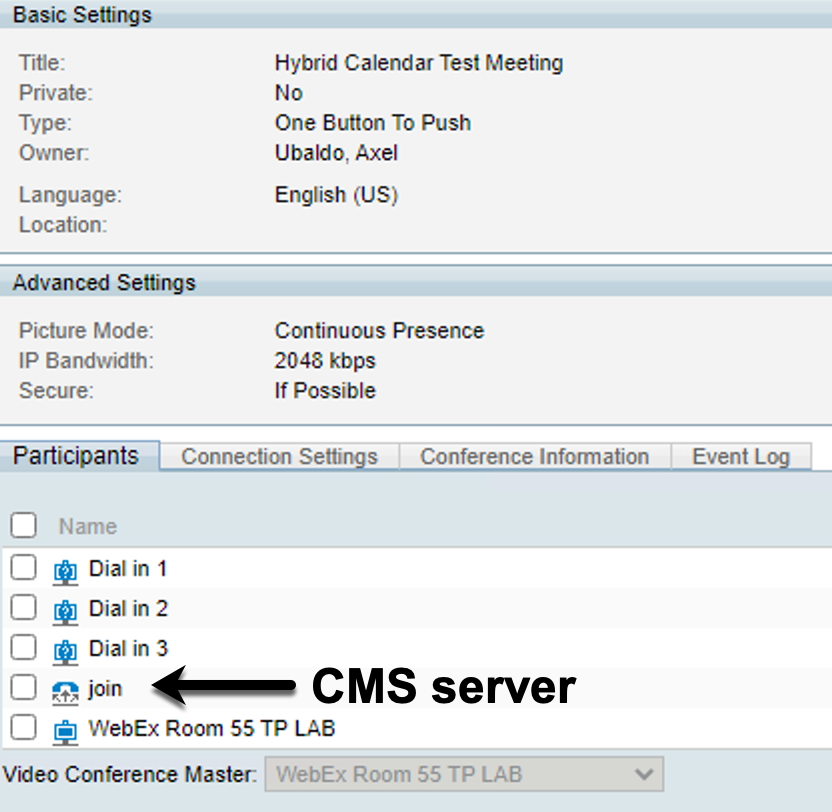
Step 6. Open to TMS web admin page, and navigate to Booking > List Conferences, in order to find the scheduled meeting.


Step 7. Validate External Service section shows Calendar Connector as External Service.
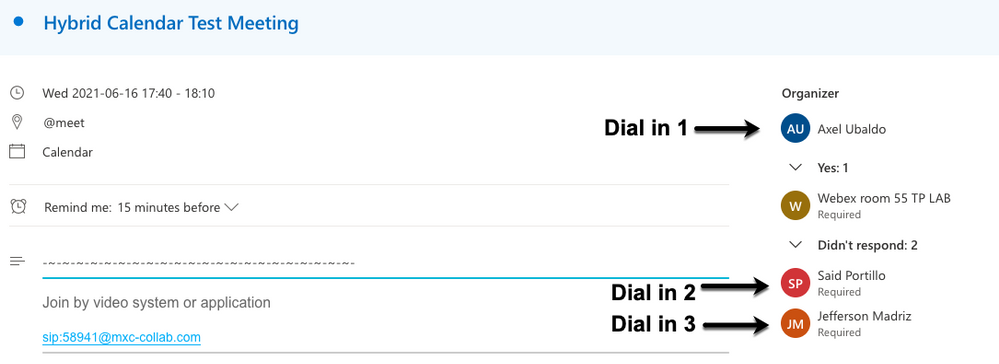
Step 8. Open the meeting details in order to validate the information. TMS adds one Dial in participant per additional attendee included on the original Outlook calendar invite.
Step 9. Navigate to a web admin page from a device involved.
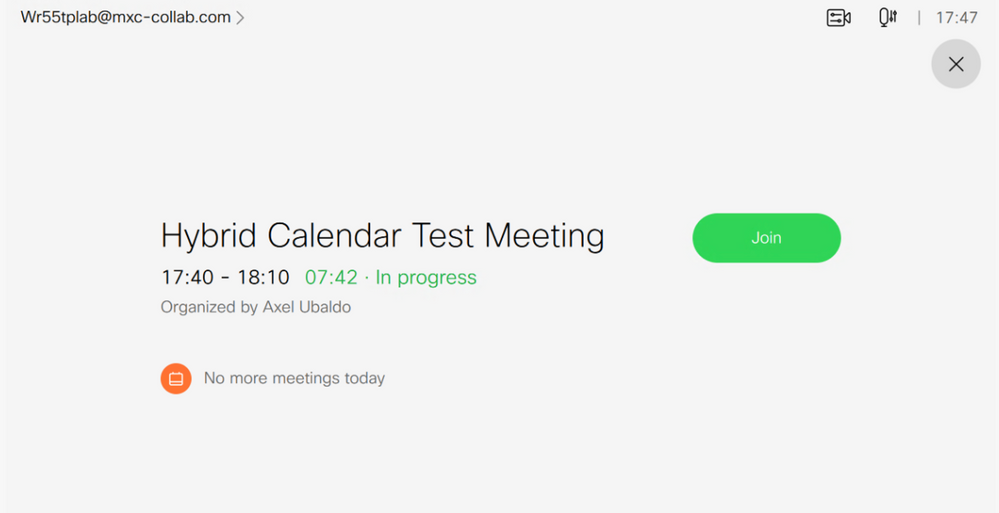
Step 10. Navigate to Issues and Diagnostics > User Interface Screenshot, and take a screenshoot from both On-Screen Display (OSD) and Touchpanel (if applies). Validate the One Button To Push (OBTP) is now displayed over the endpoint.


 Feedback